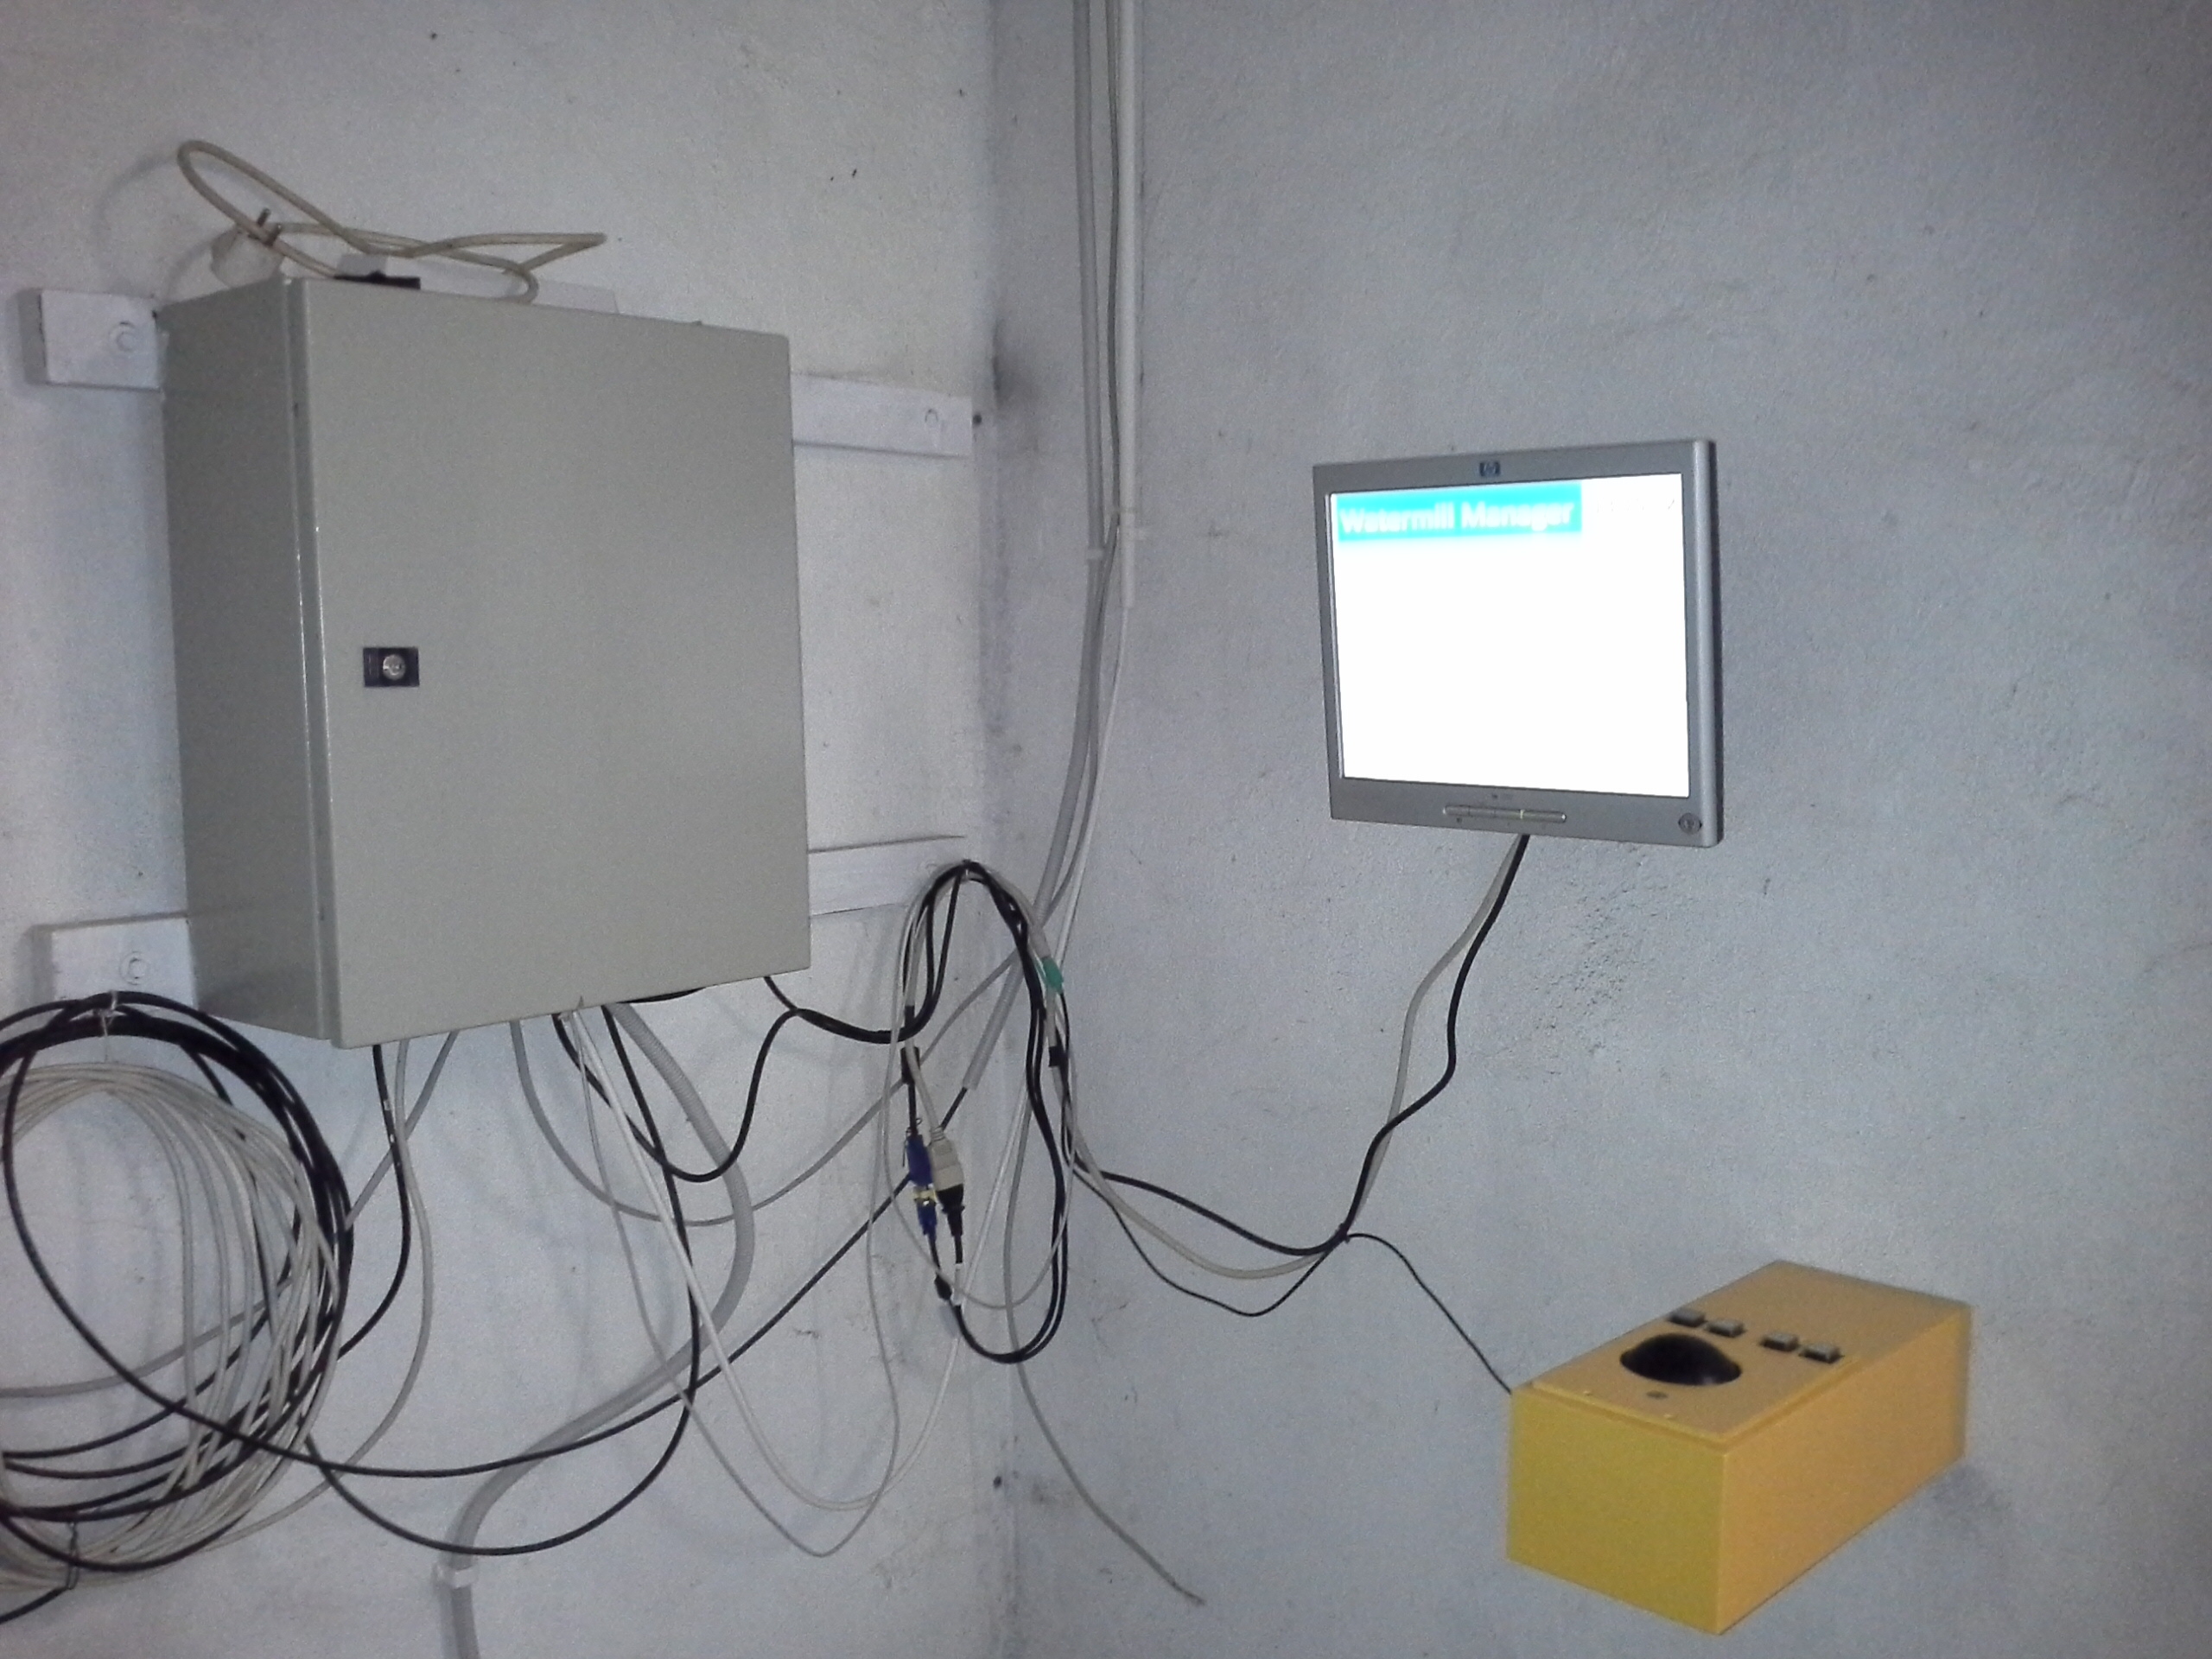
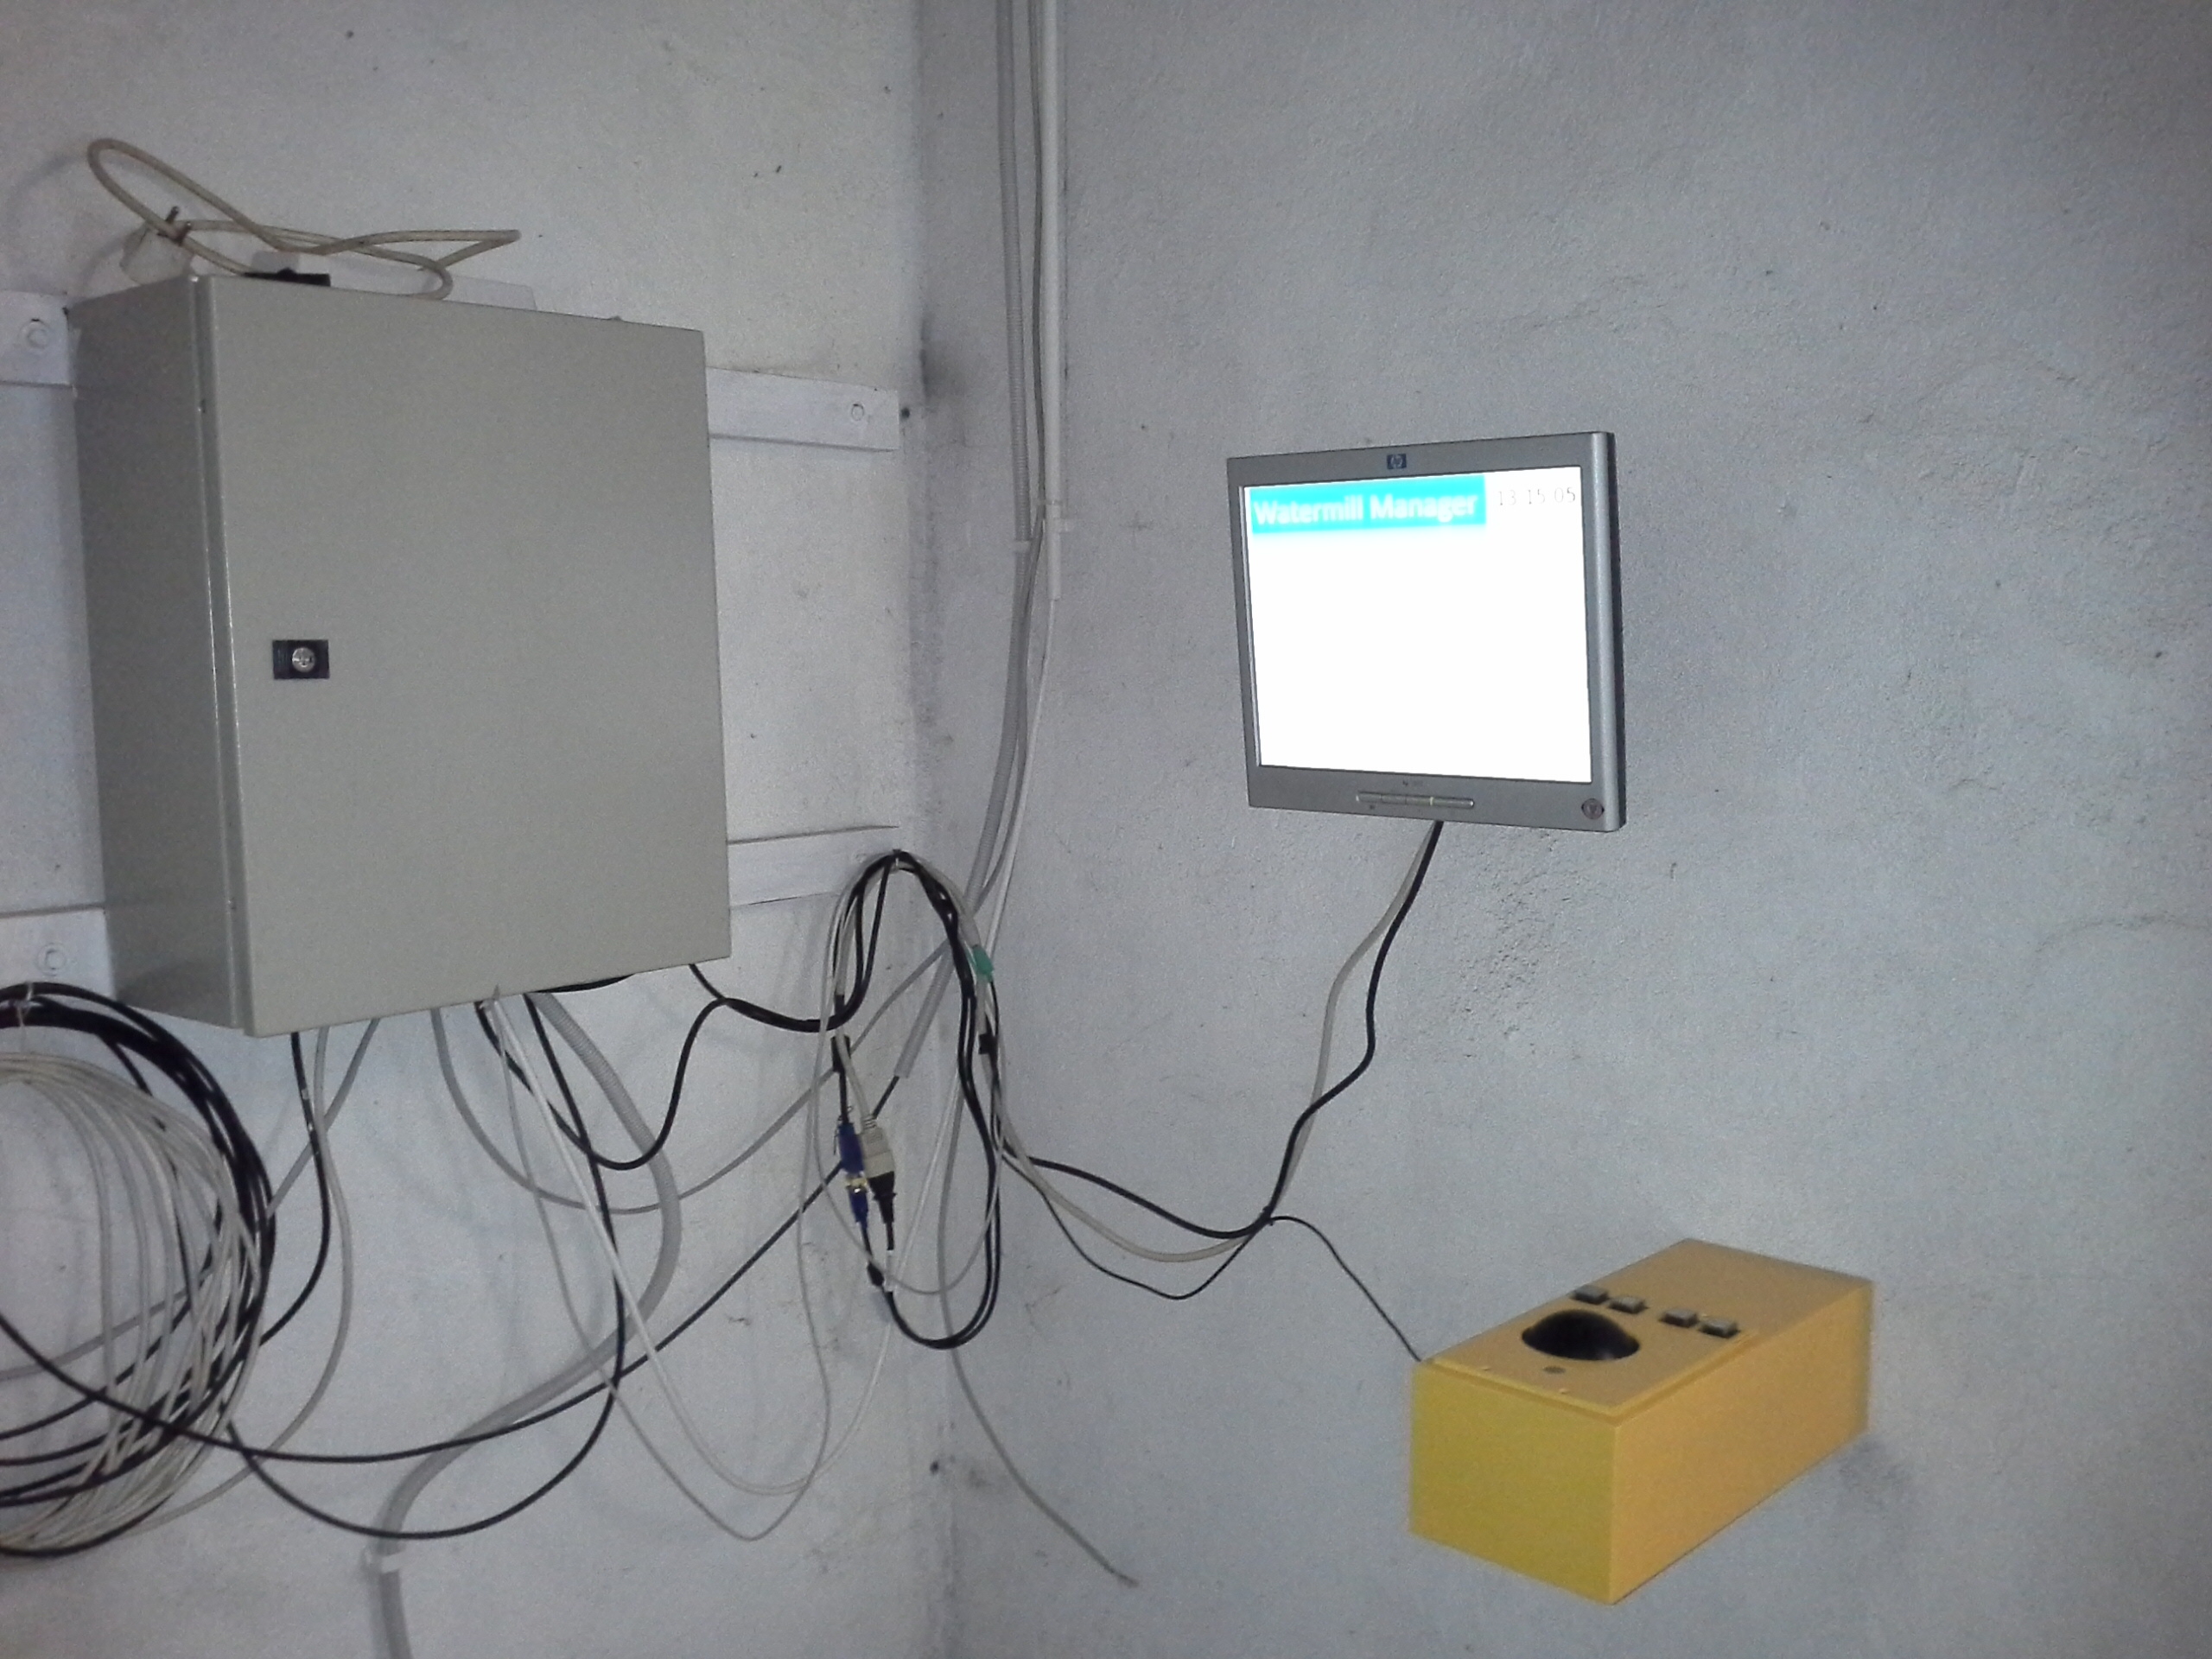
Lately I worked on small water power plant management system. Everything was almost completed, except the user interface (some GUI) that would allow to read and set some of the power plant parameters. I decided to build small (and cheap) Linux Kiosk: only monitor and trackball accessible for the user. I needed a small Kiosk. Since hardware for this kind of stuff is quite expensive, I decided to fix something out by myself. I used an old military trackball, HP thin client terminal and 15″ VGA monitor, and a little bit of hardware hacking. Here is what I did.
Hardware – CPU for kiosk
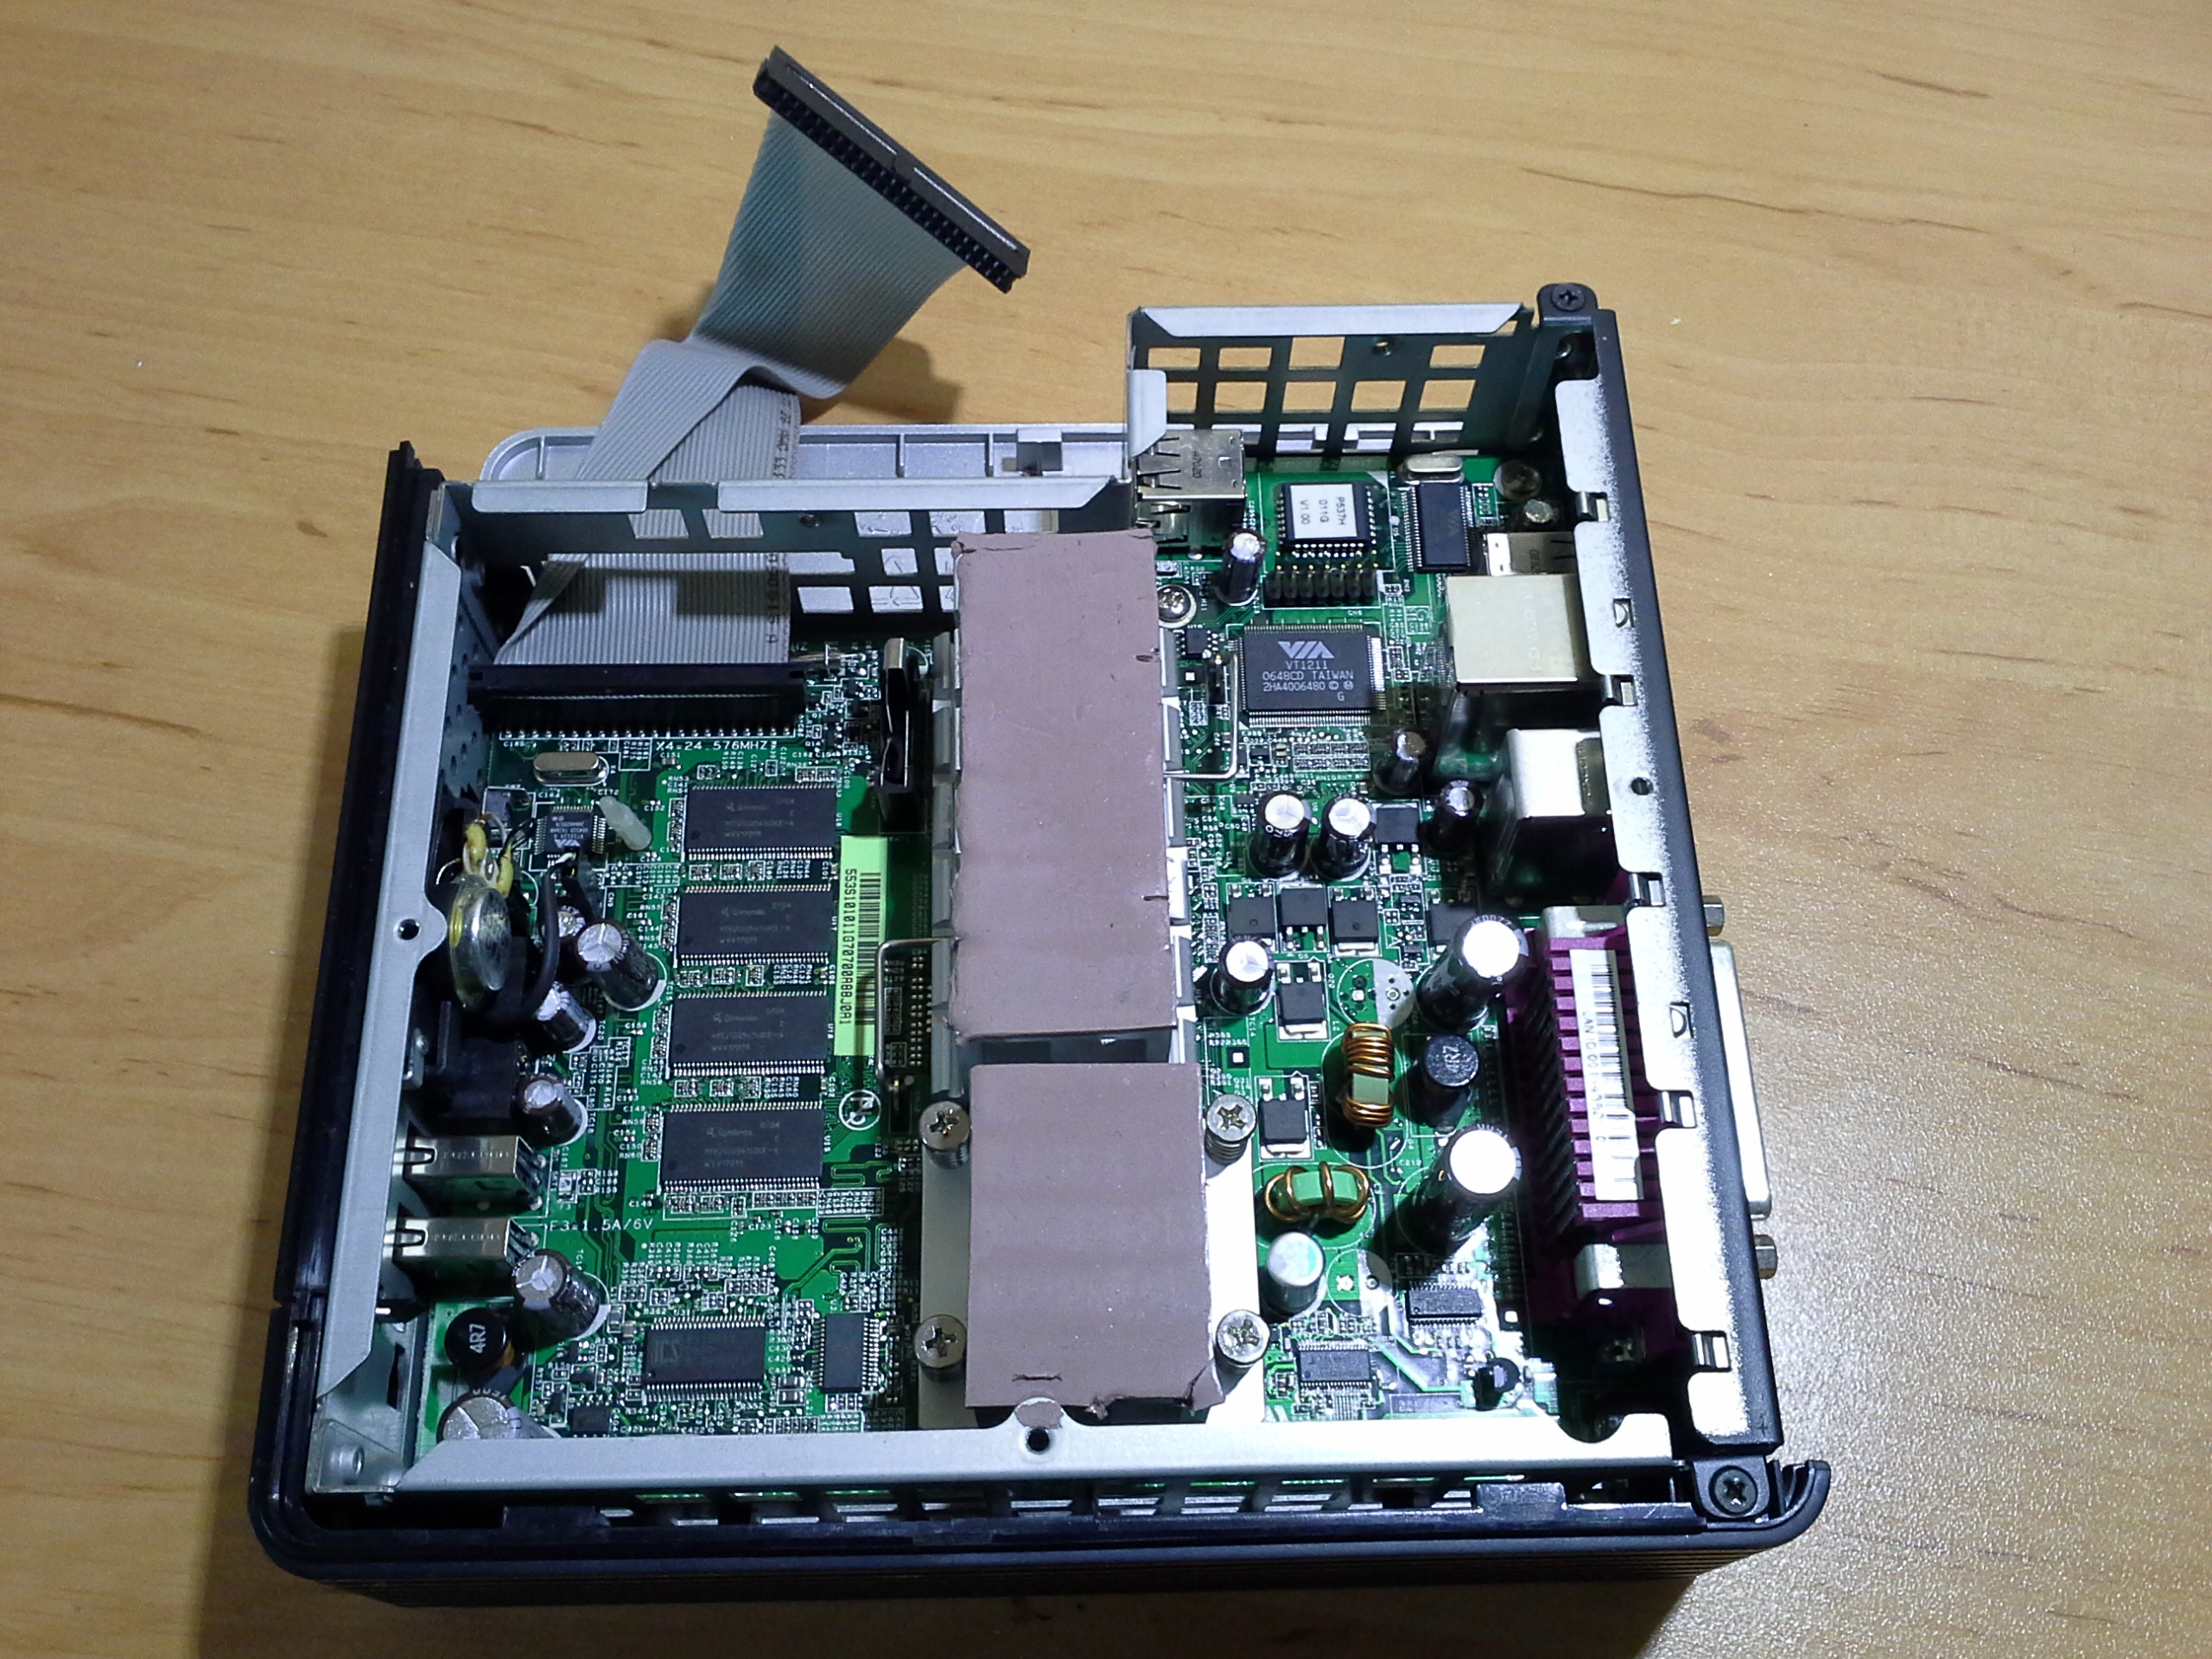
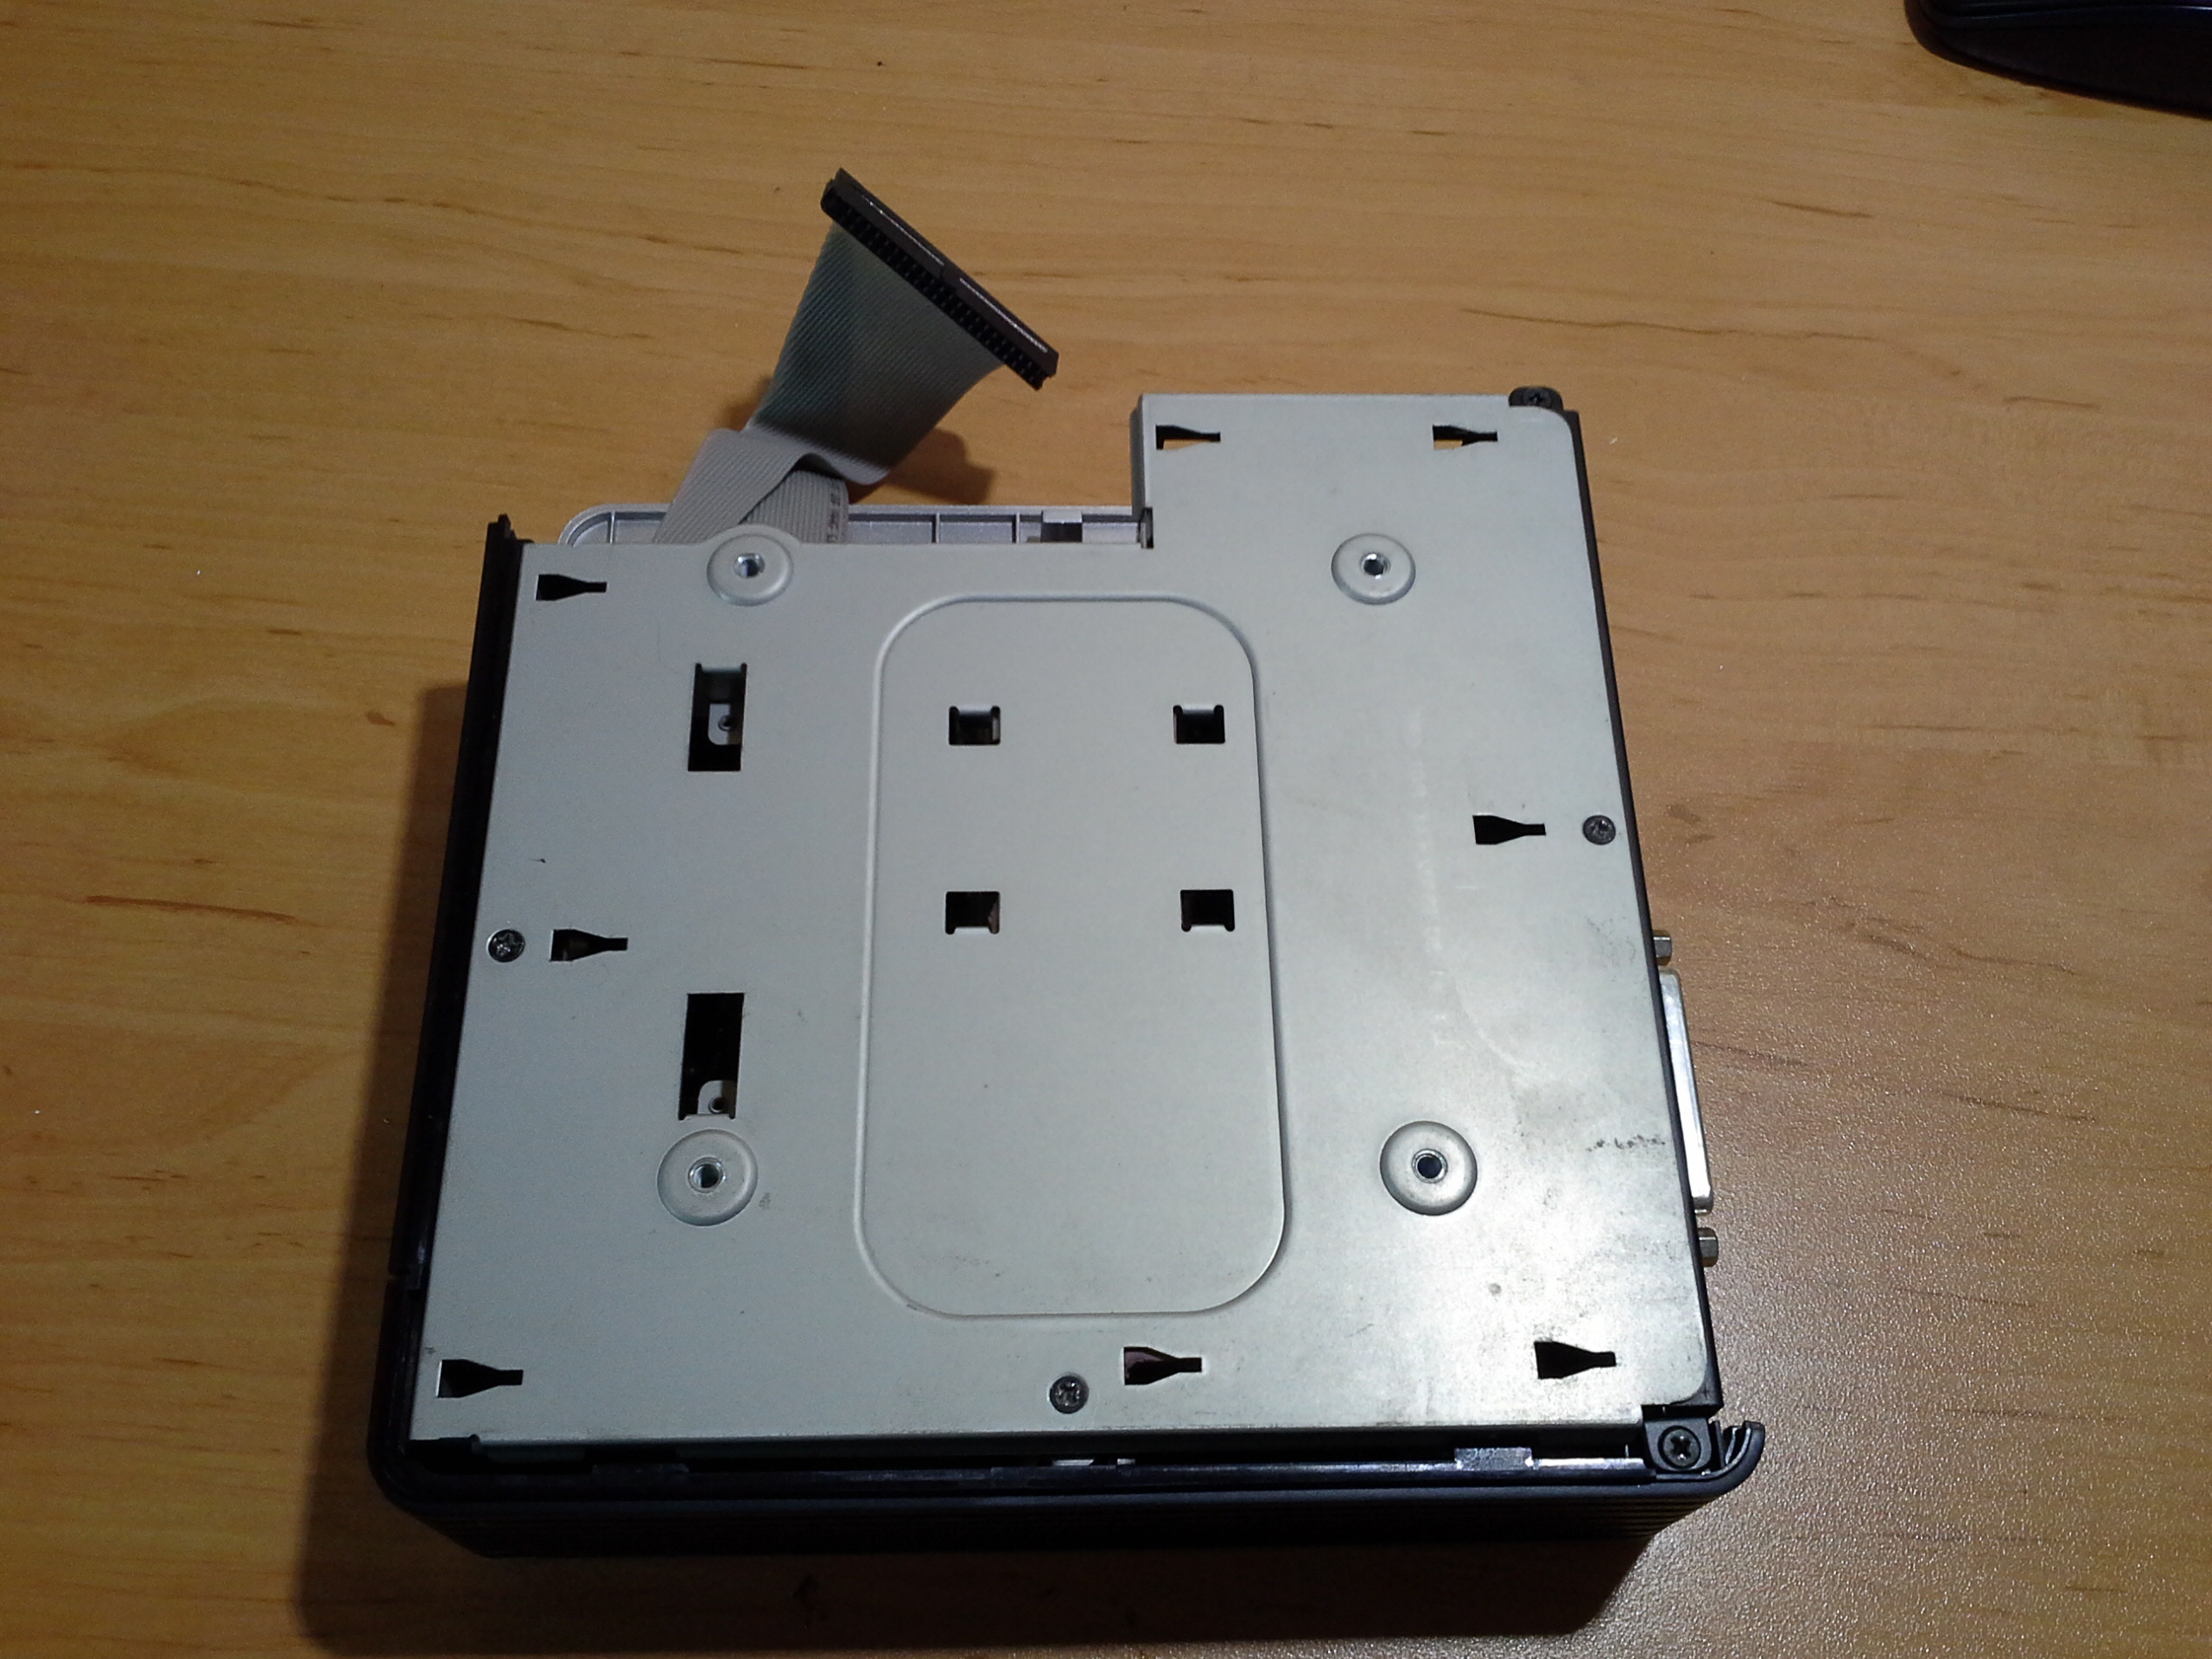
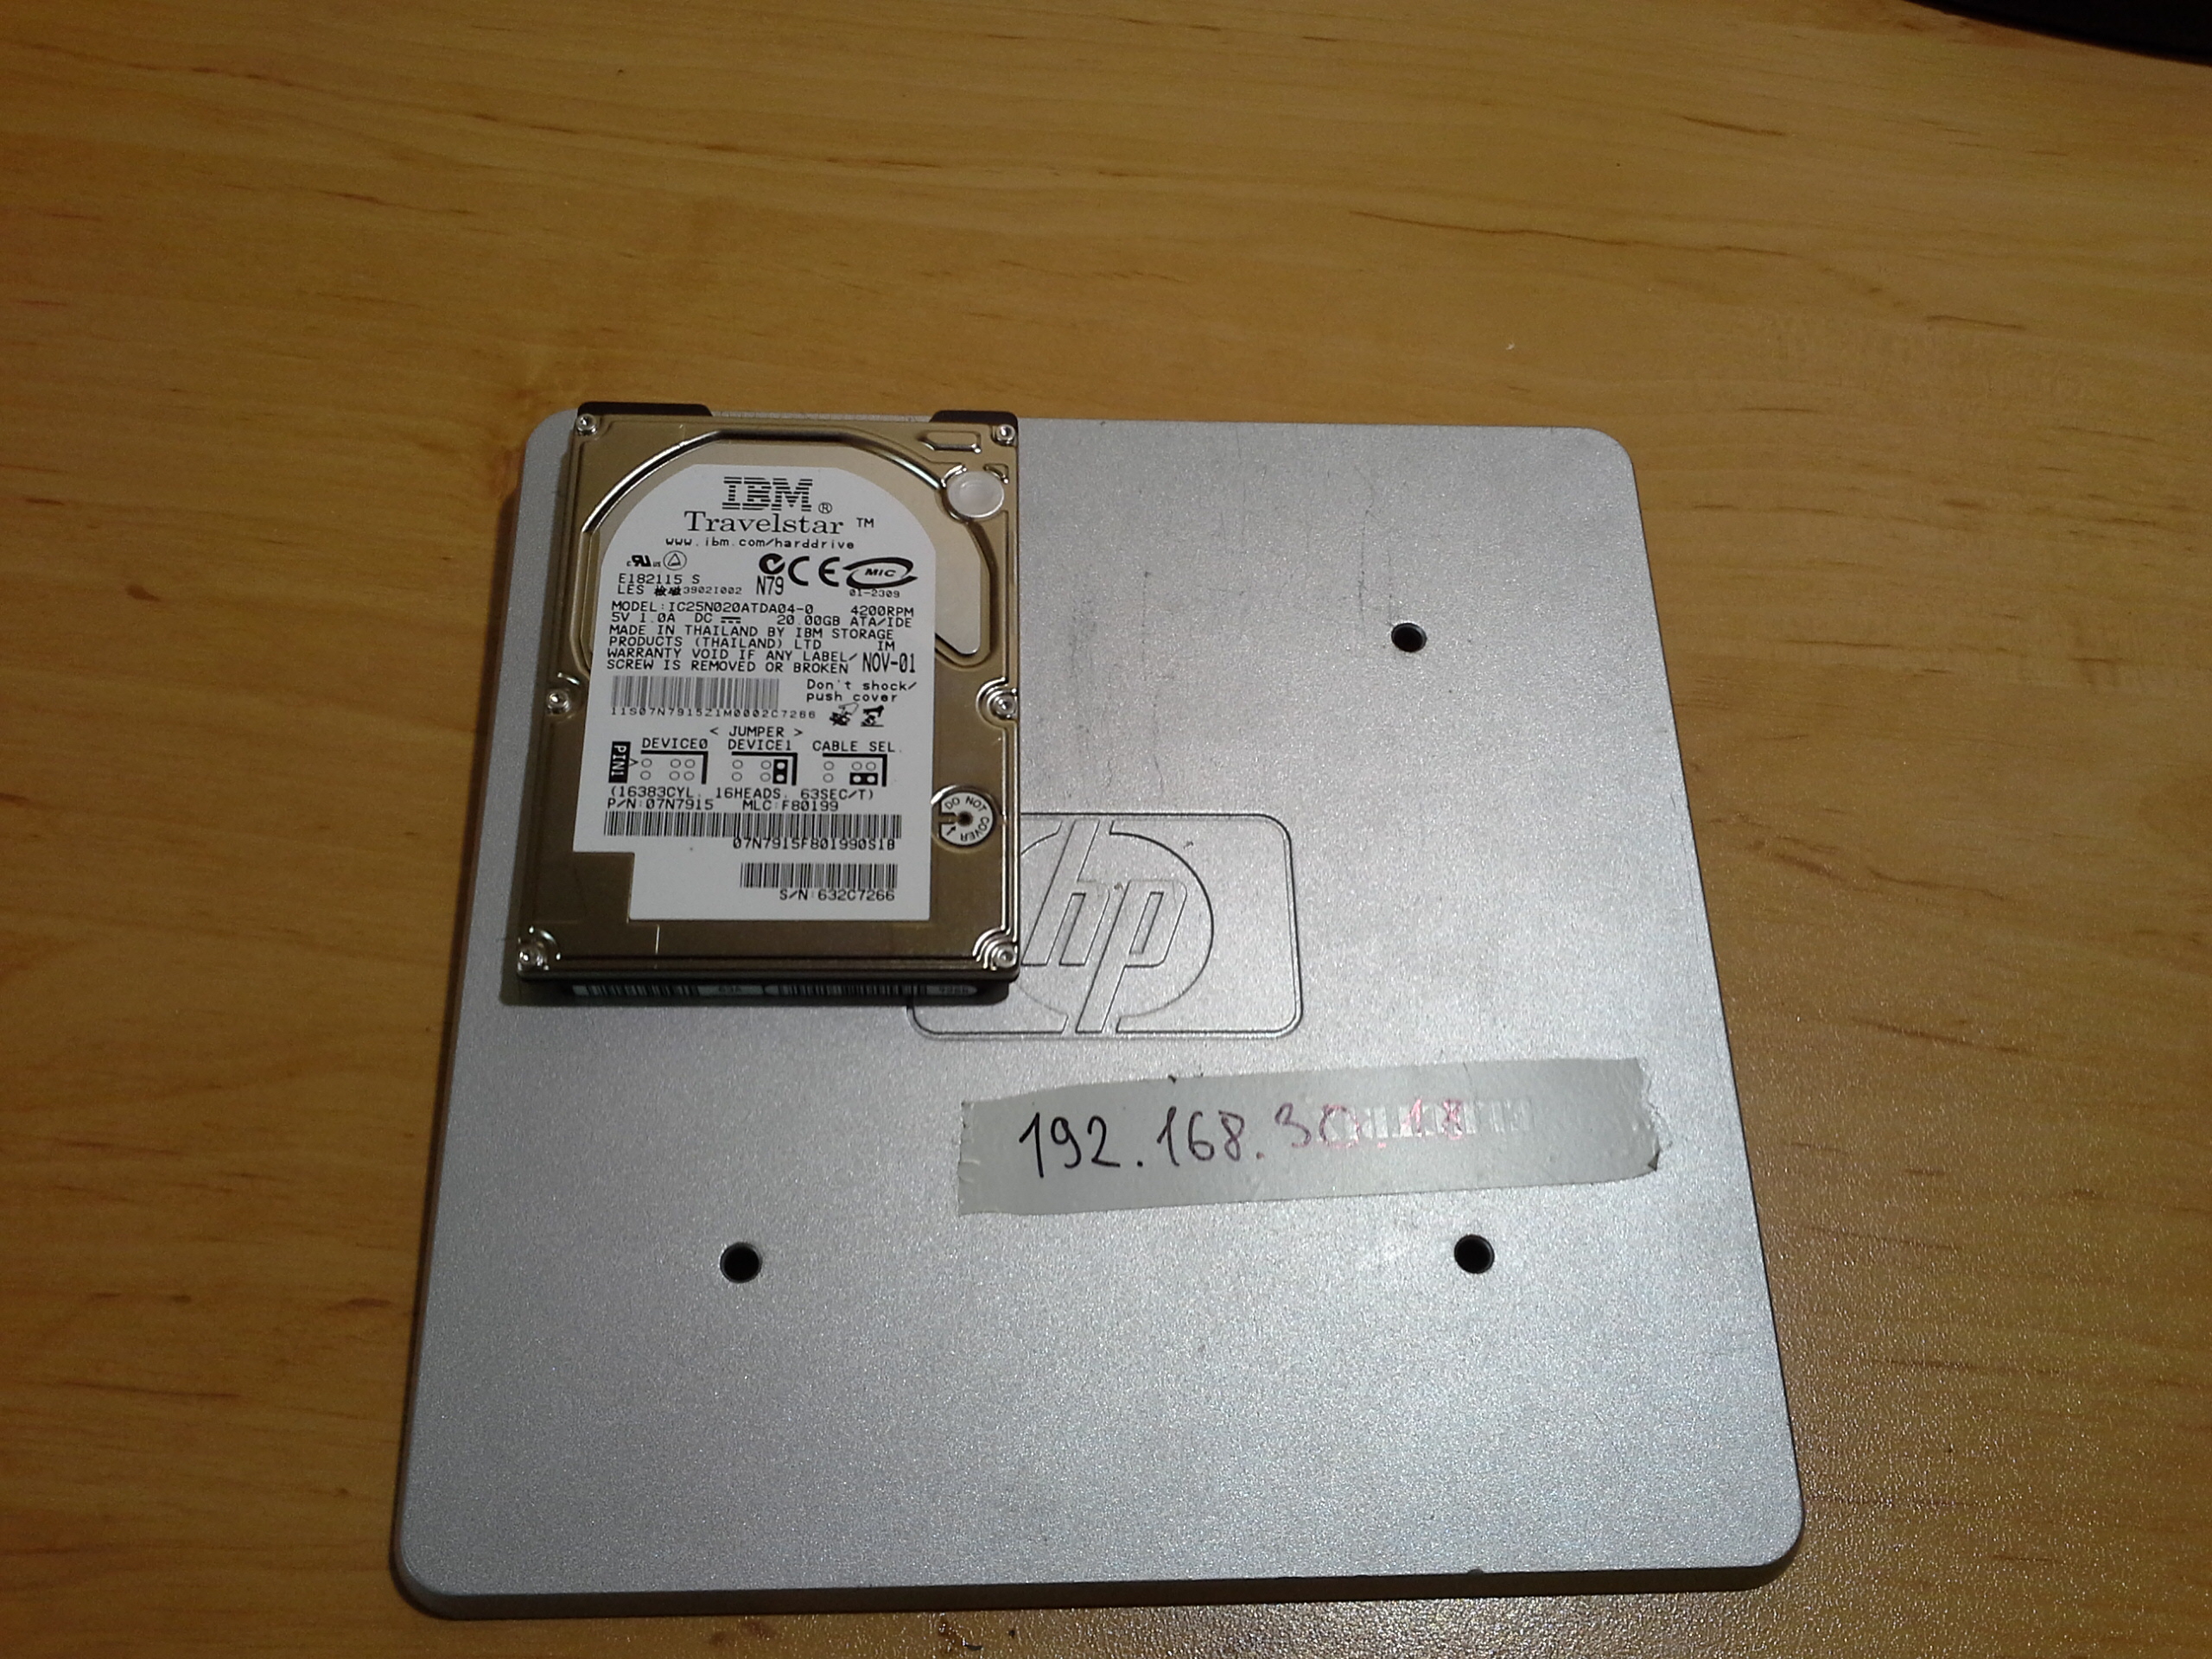
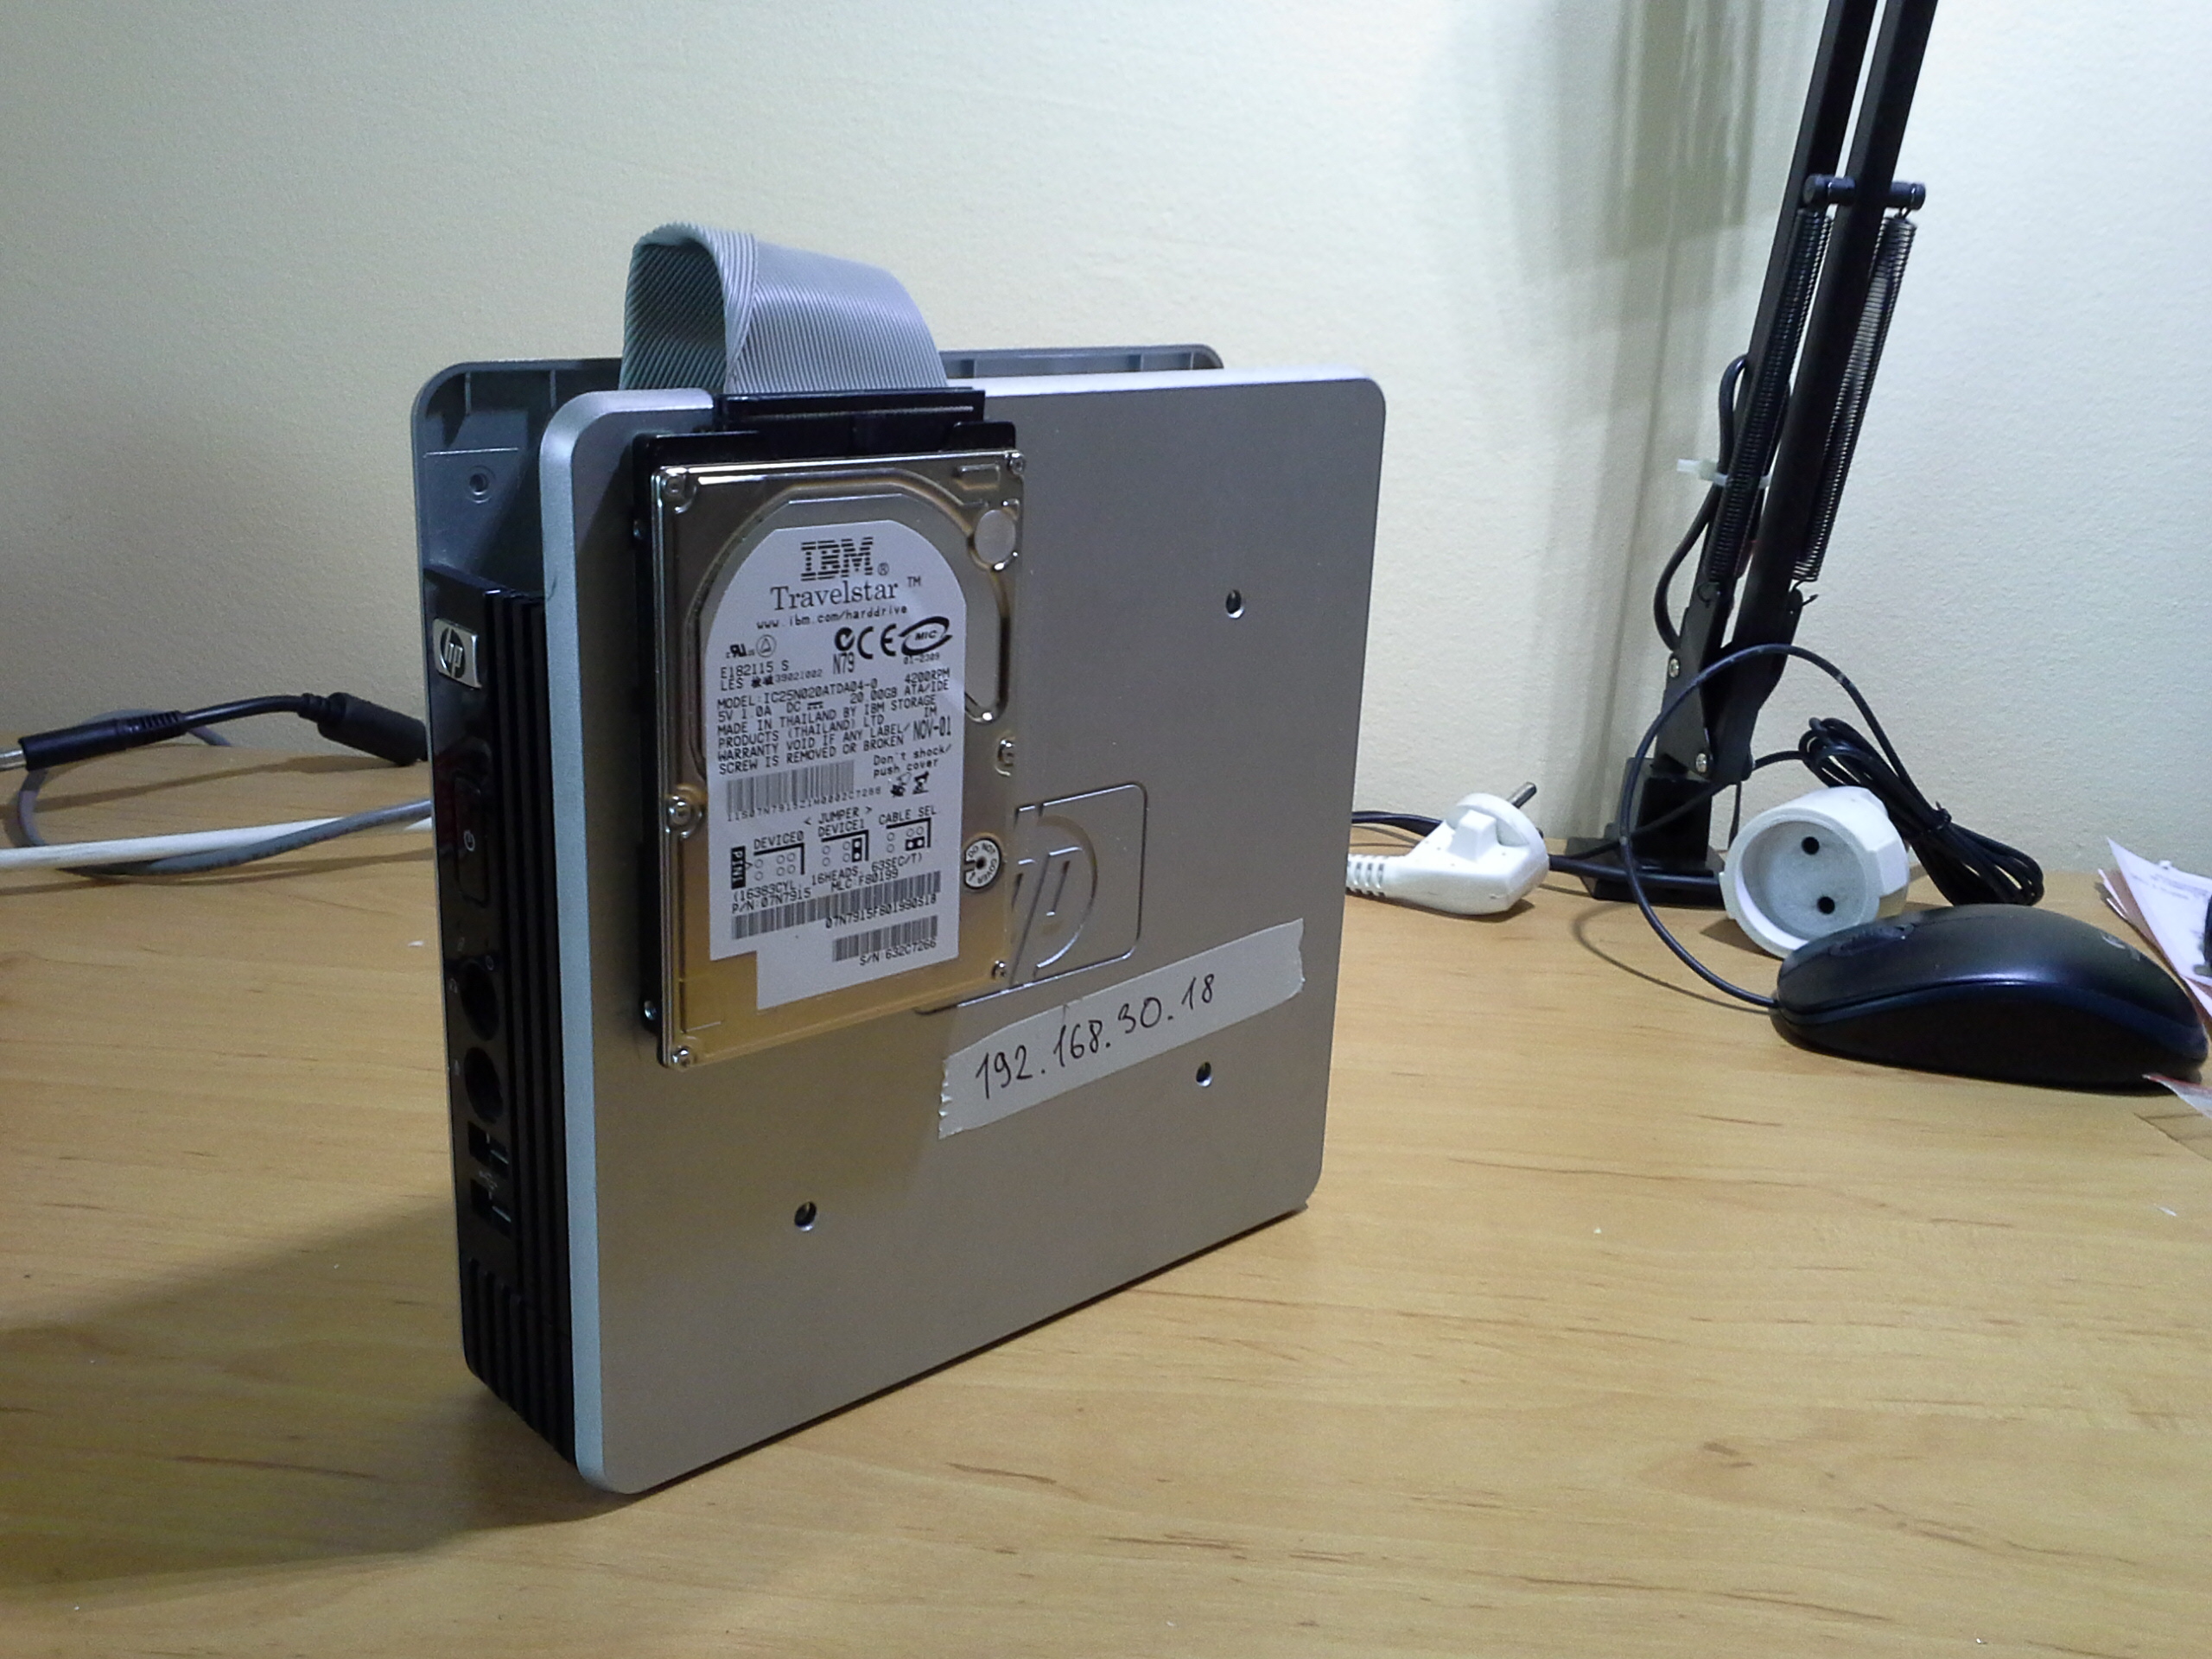
An old PC for kiosk CPU would be ok, but because of the size, I decided to use something else: HP Thin Client terminal. This small, cheap and reliable (no moving parts like fans) peace of hardware is ideally for kiosk. Originally, Thin Clients are used in terminal applications – workstations that need only RDP to some virtual office etc. That is why it doesn’t need HDD and originally doesn’t have one . HP ThinClient comes with CompactCard as a storage for operating system. It is not a good option, when you want to use it as a platform for regular OS. I dig for a while and found out, that since CF is connected through 44 PIN connector, it might be compatible with regular 2,5″ HDD from my old laptop. Guess what – it worked perfectly! The only problem I had was lack of space inside device for HDD. I decided to mount HDD outside Thin Client.
 |
 |
 |
 |
 |
Hardware – trackball
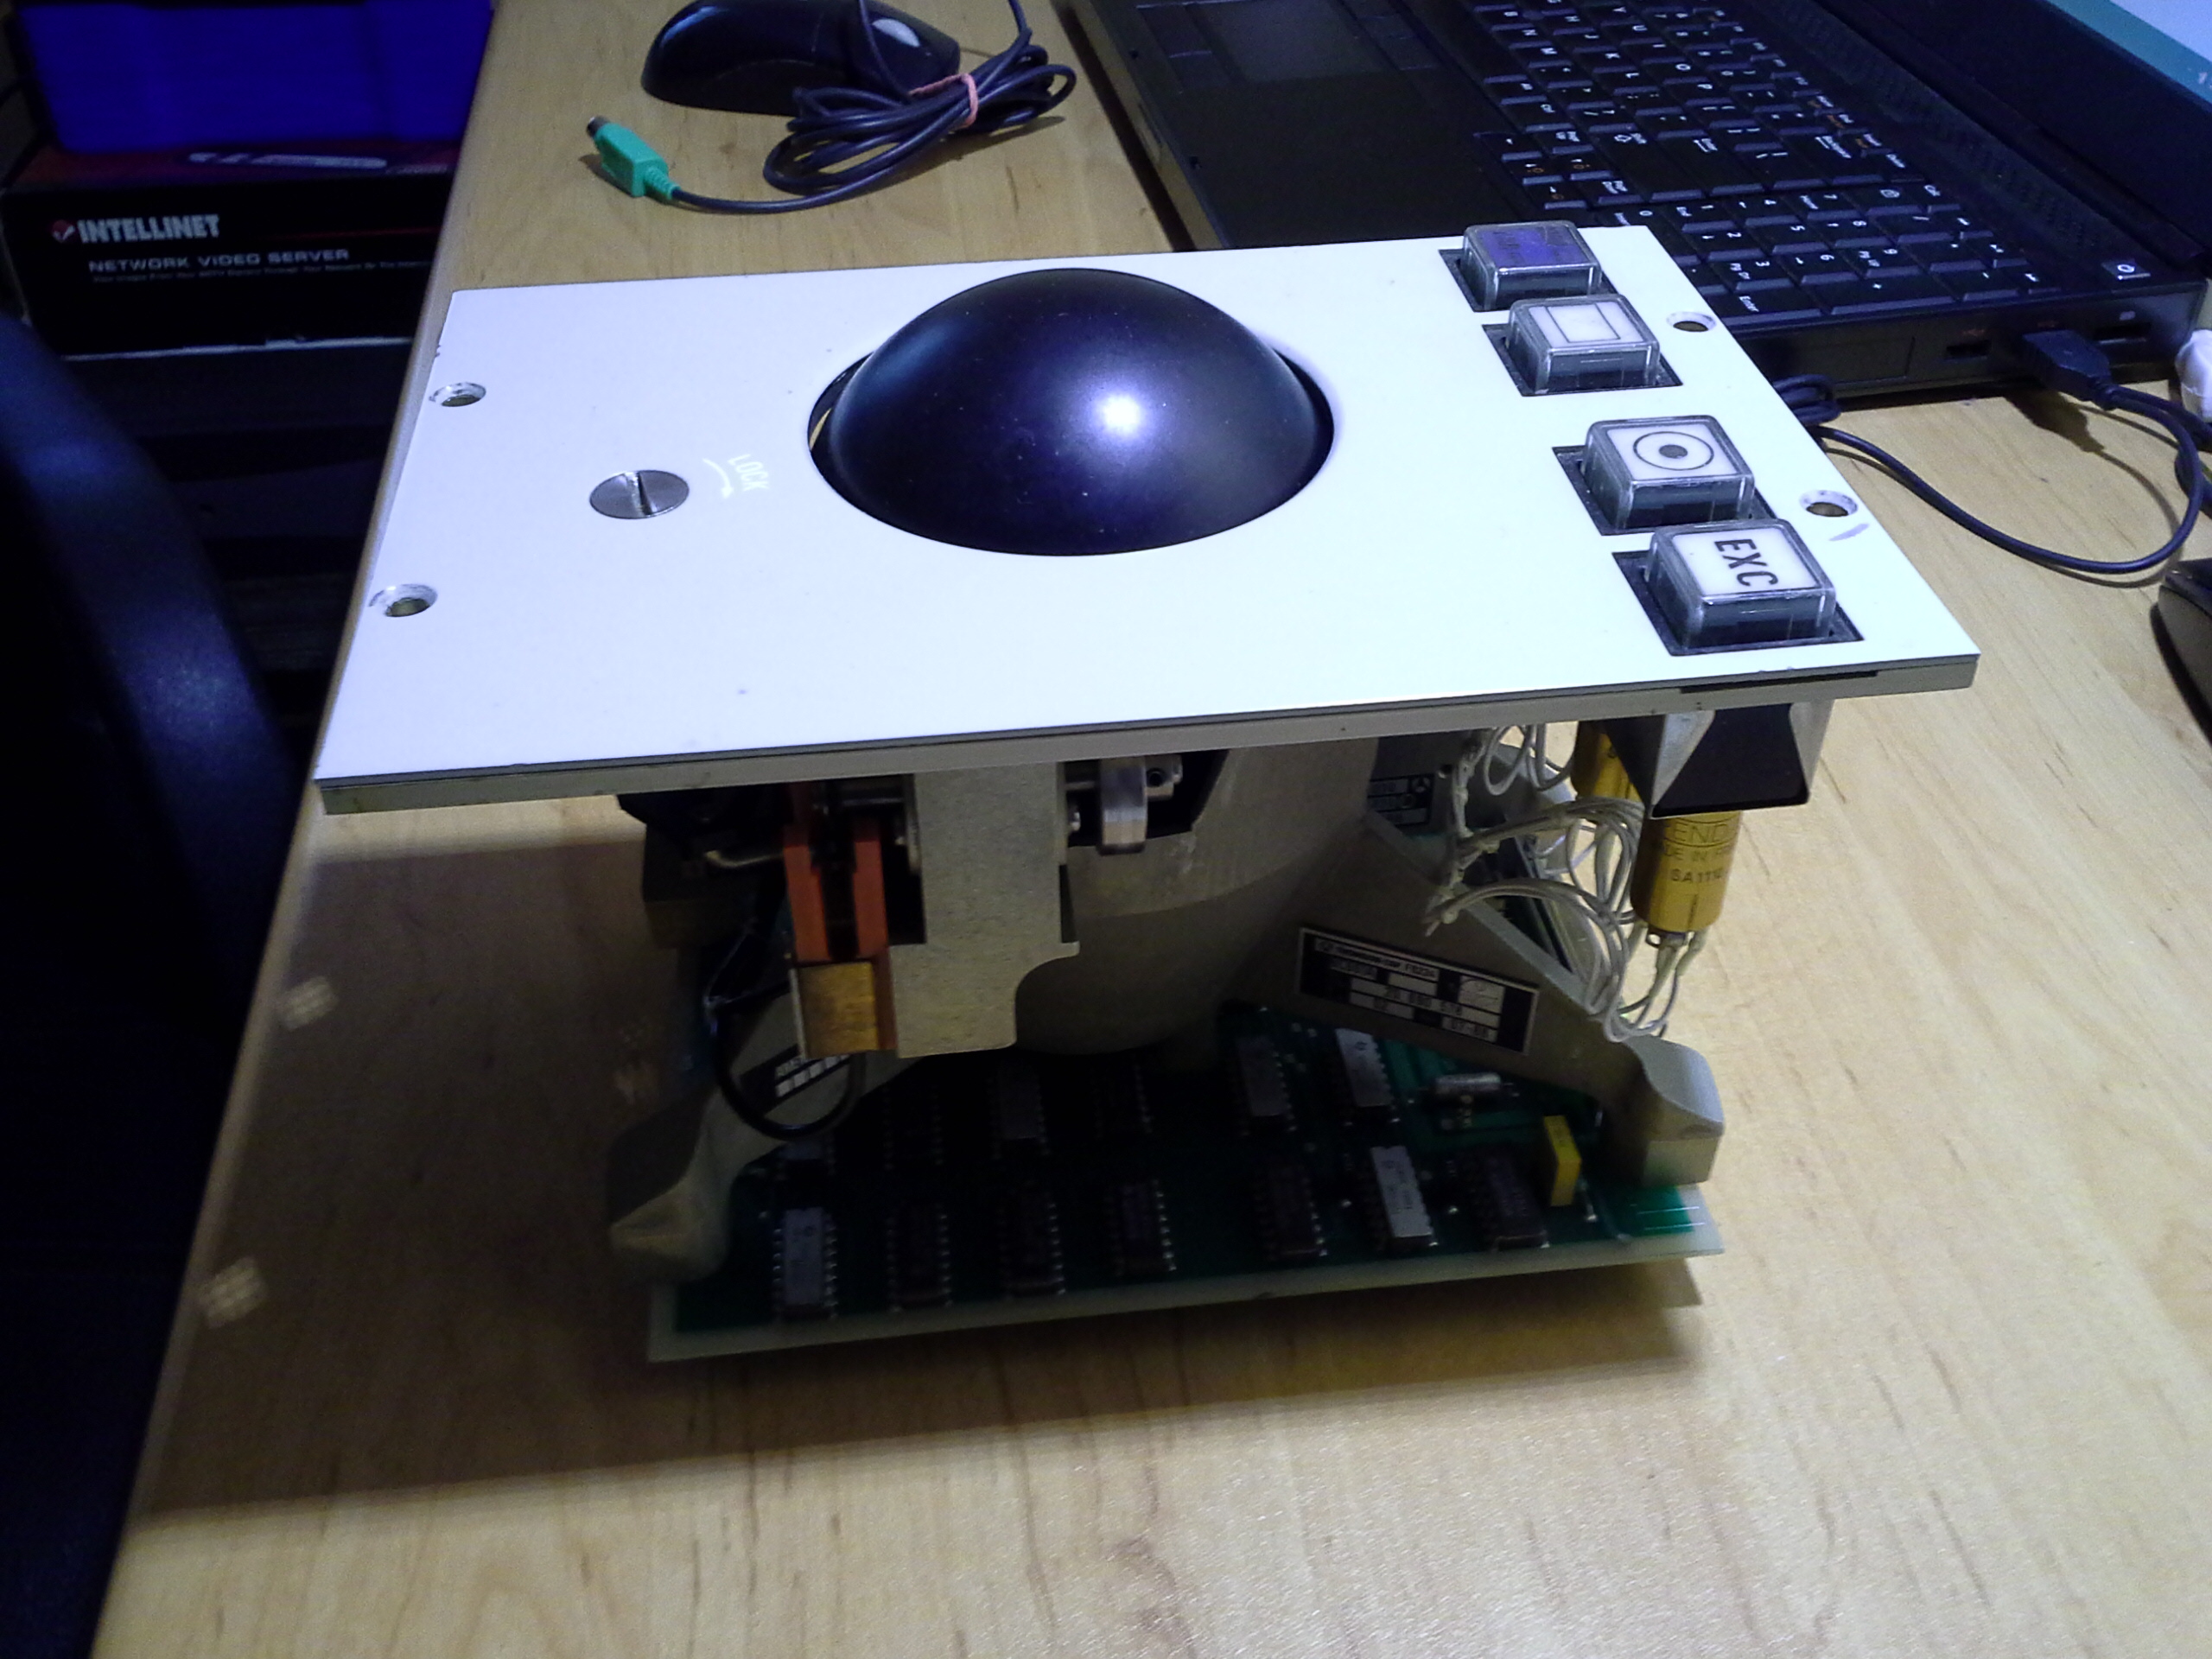
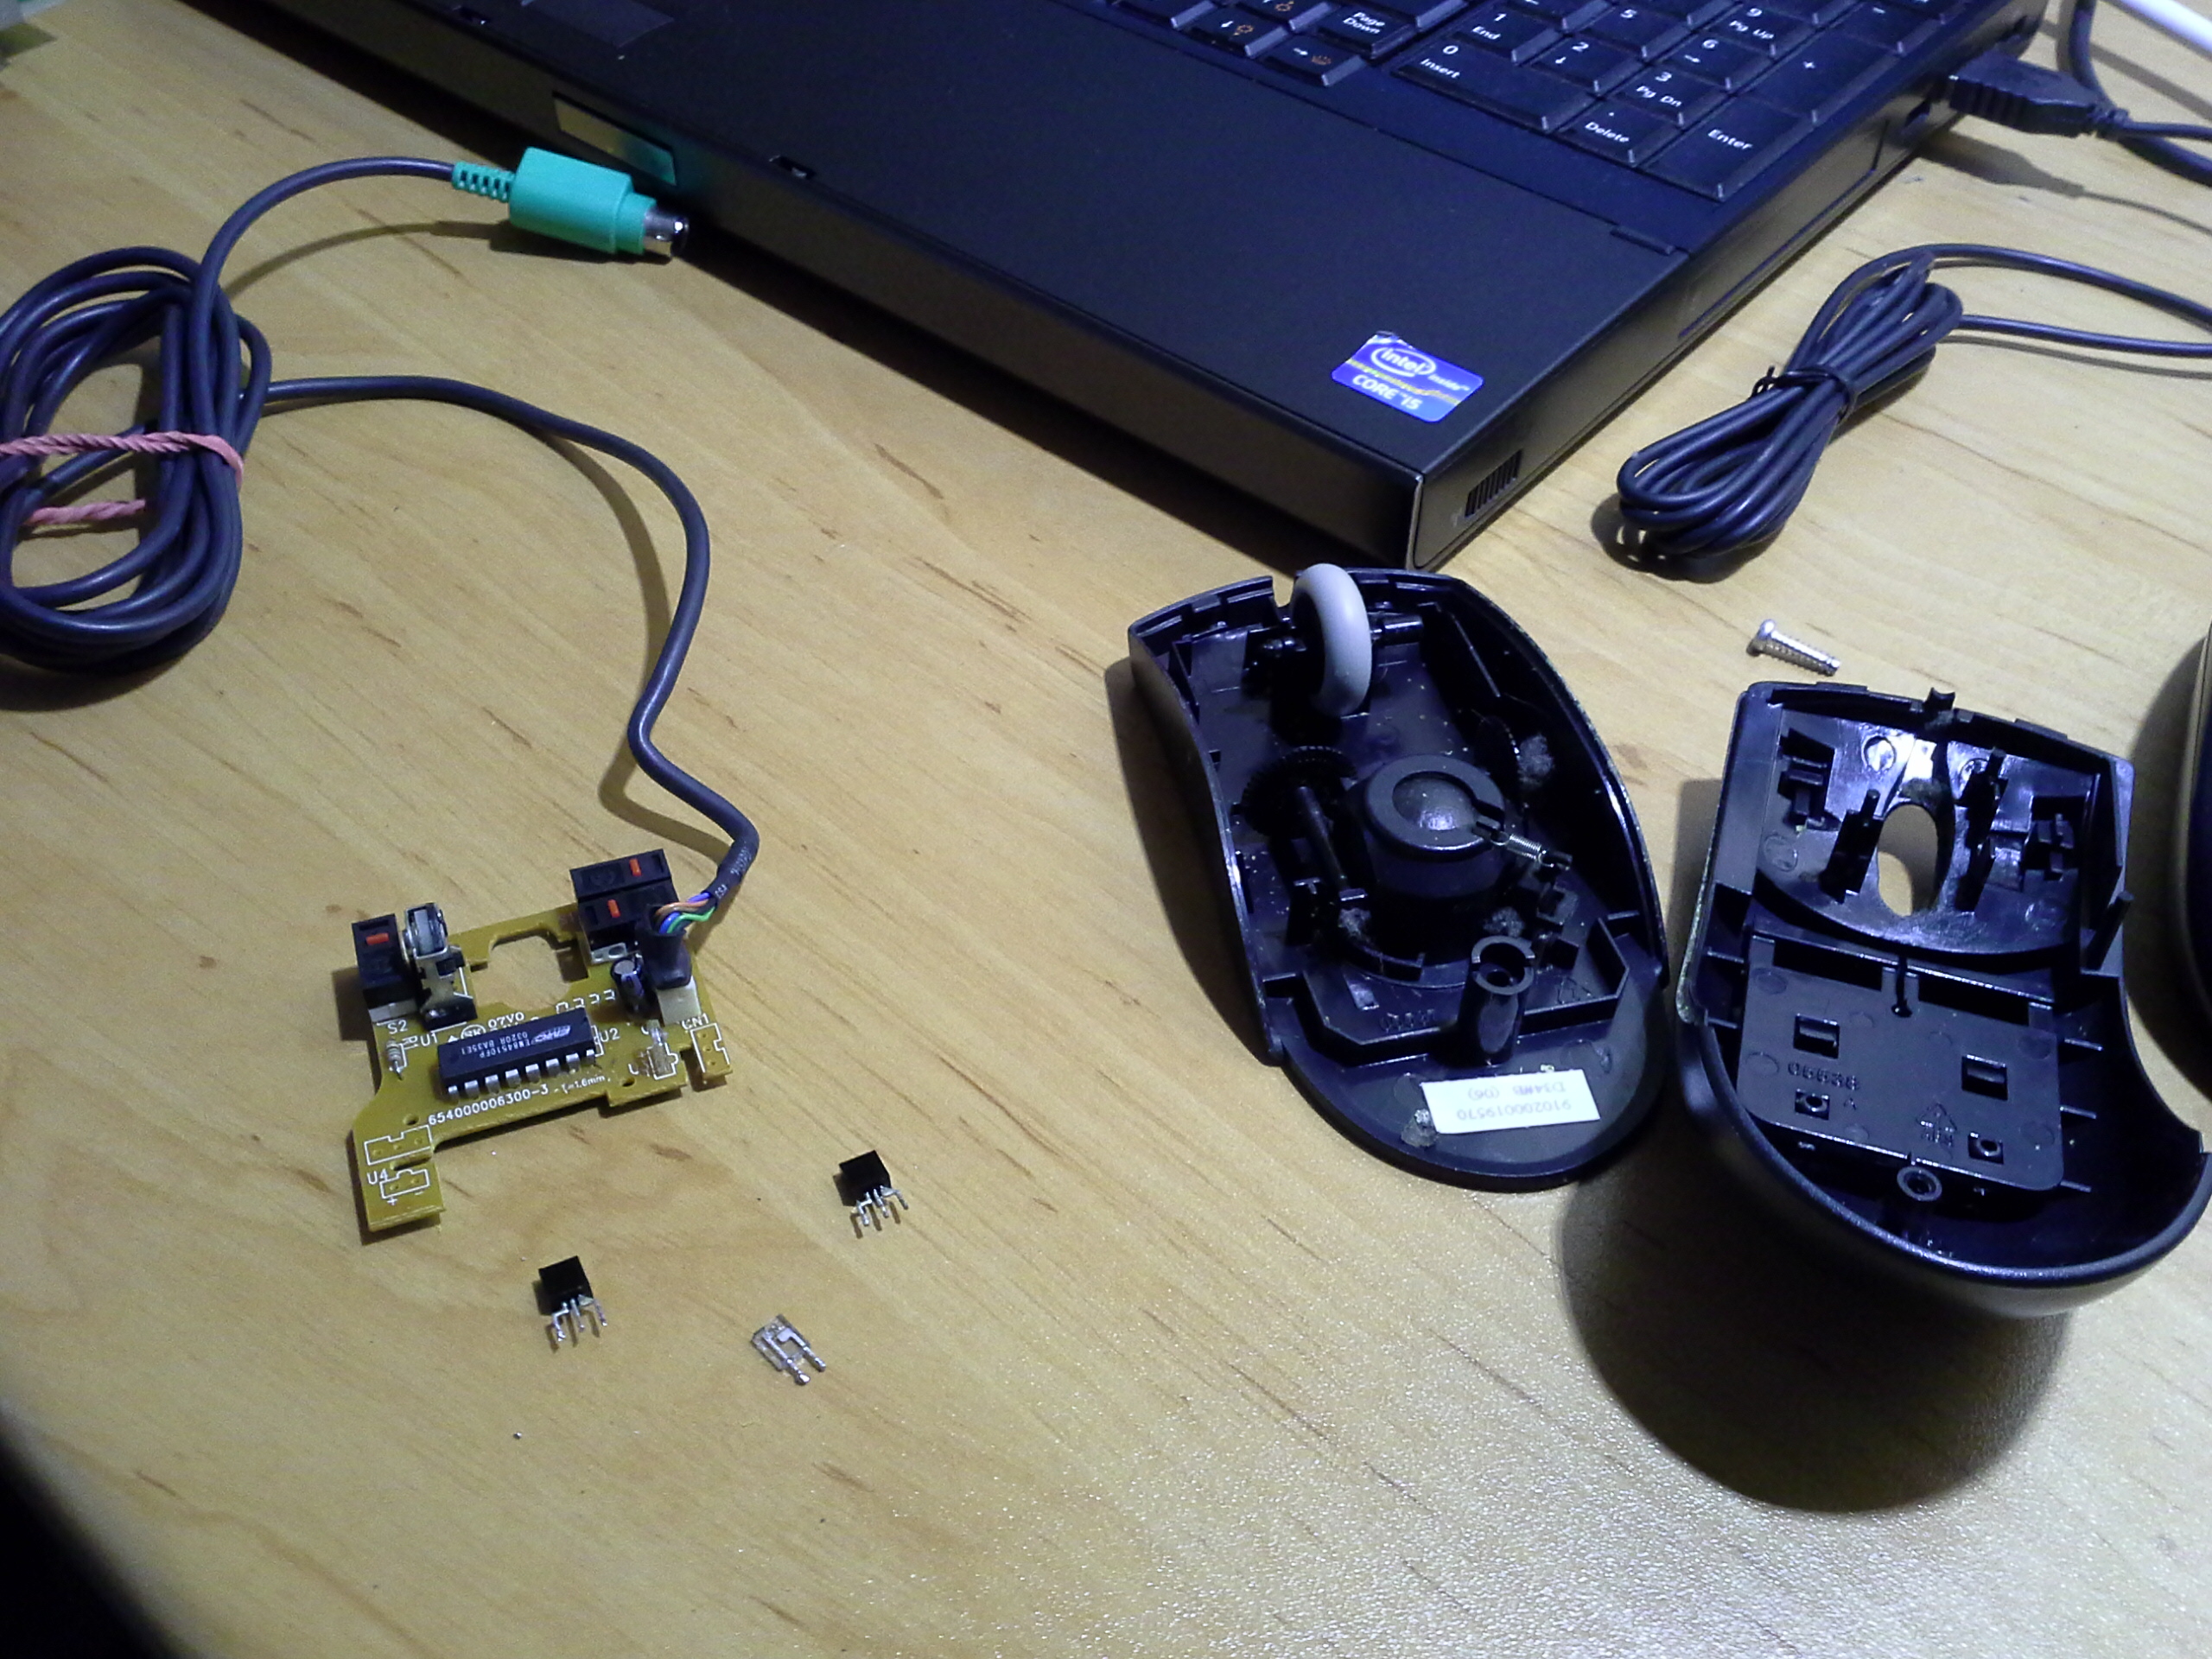
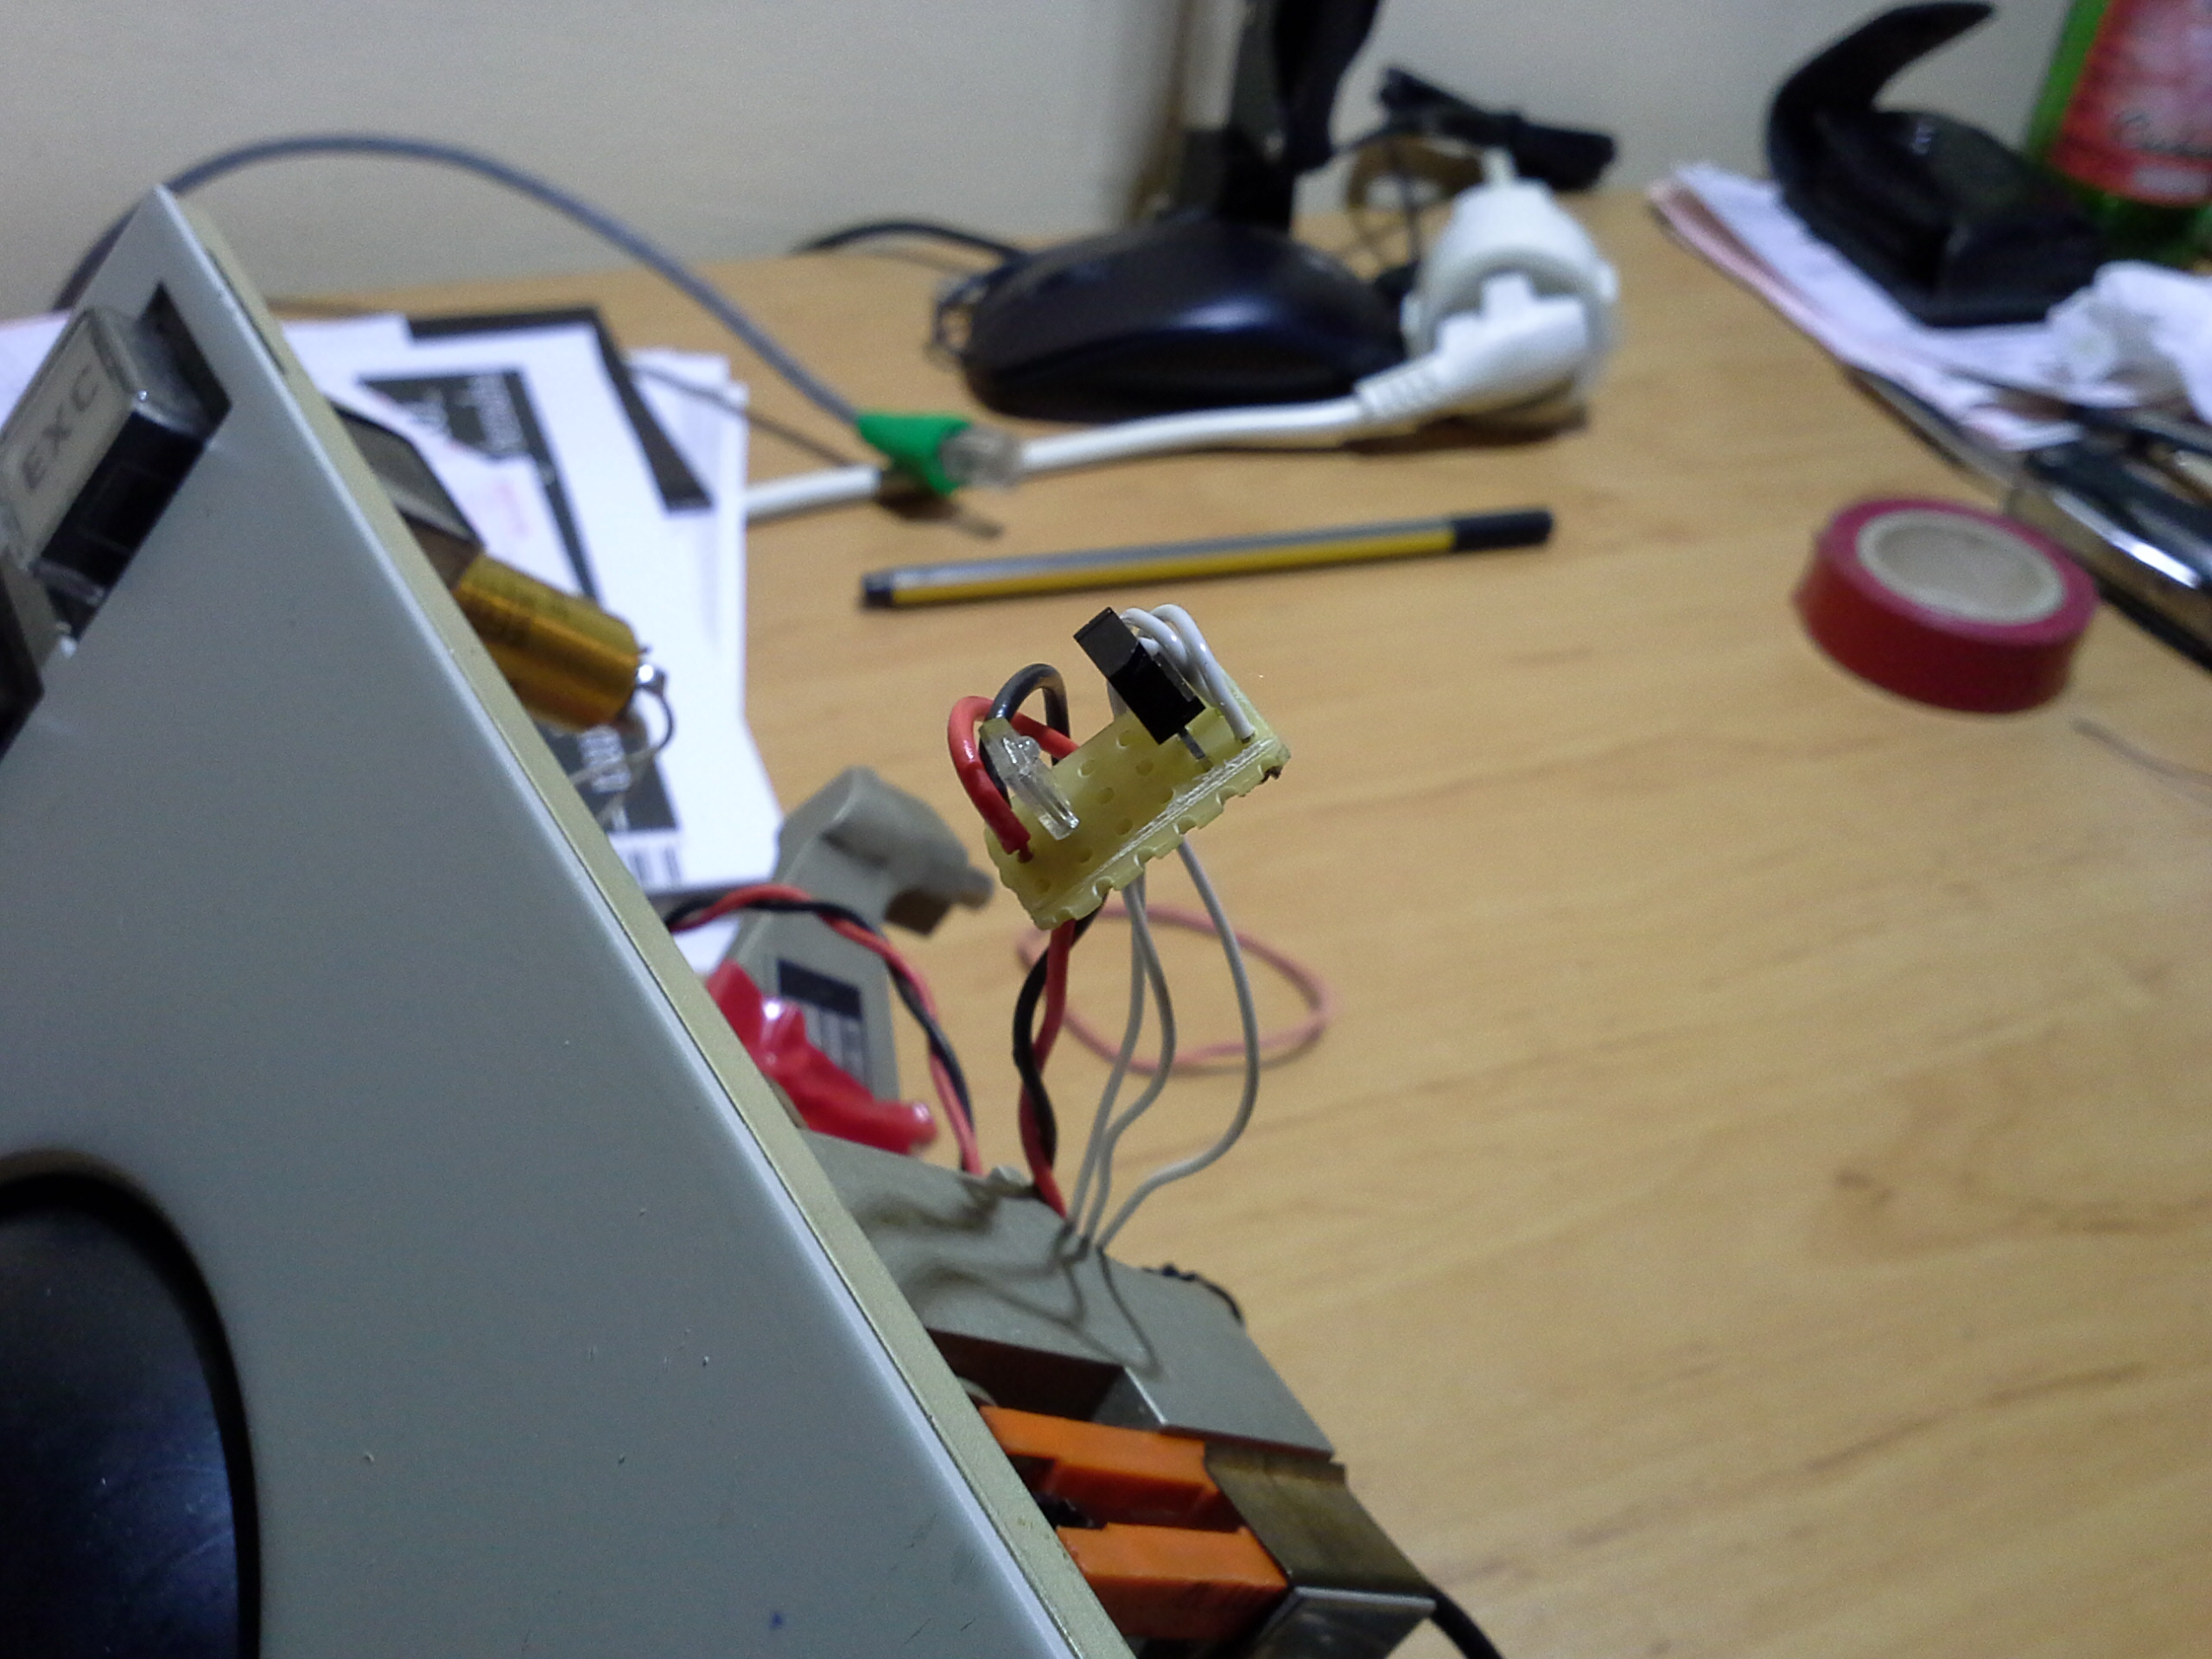
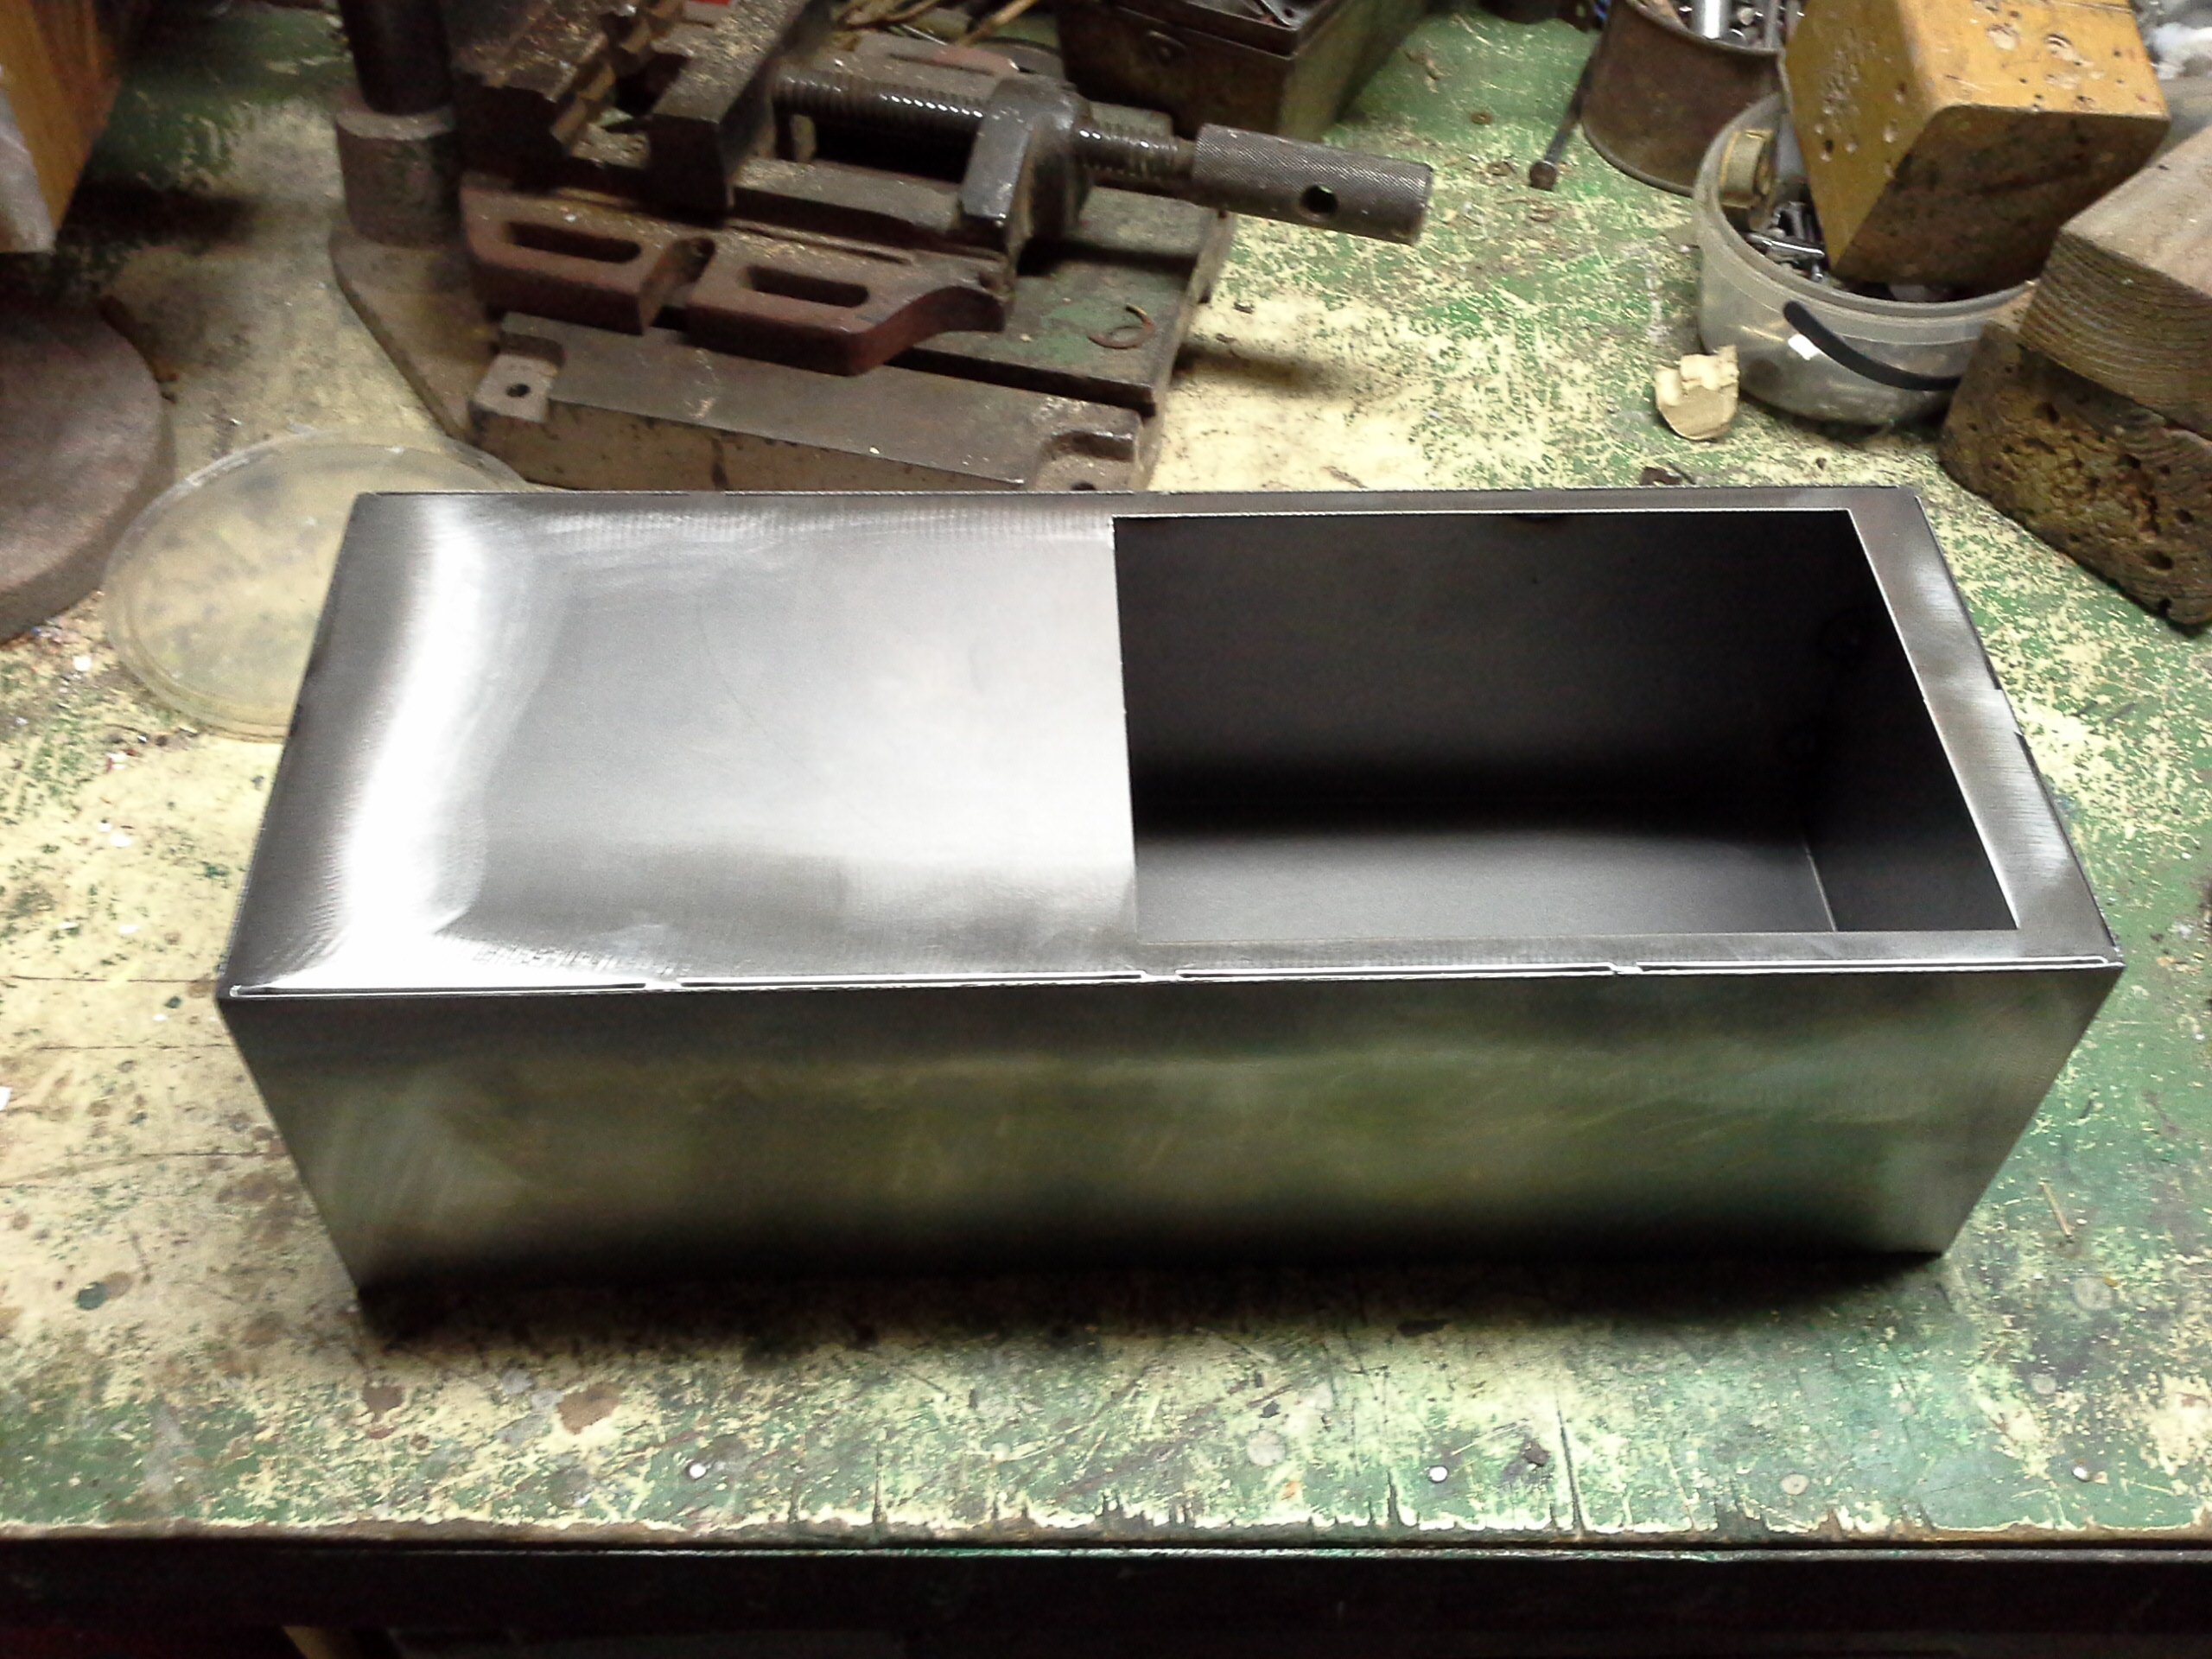
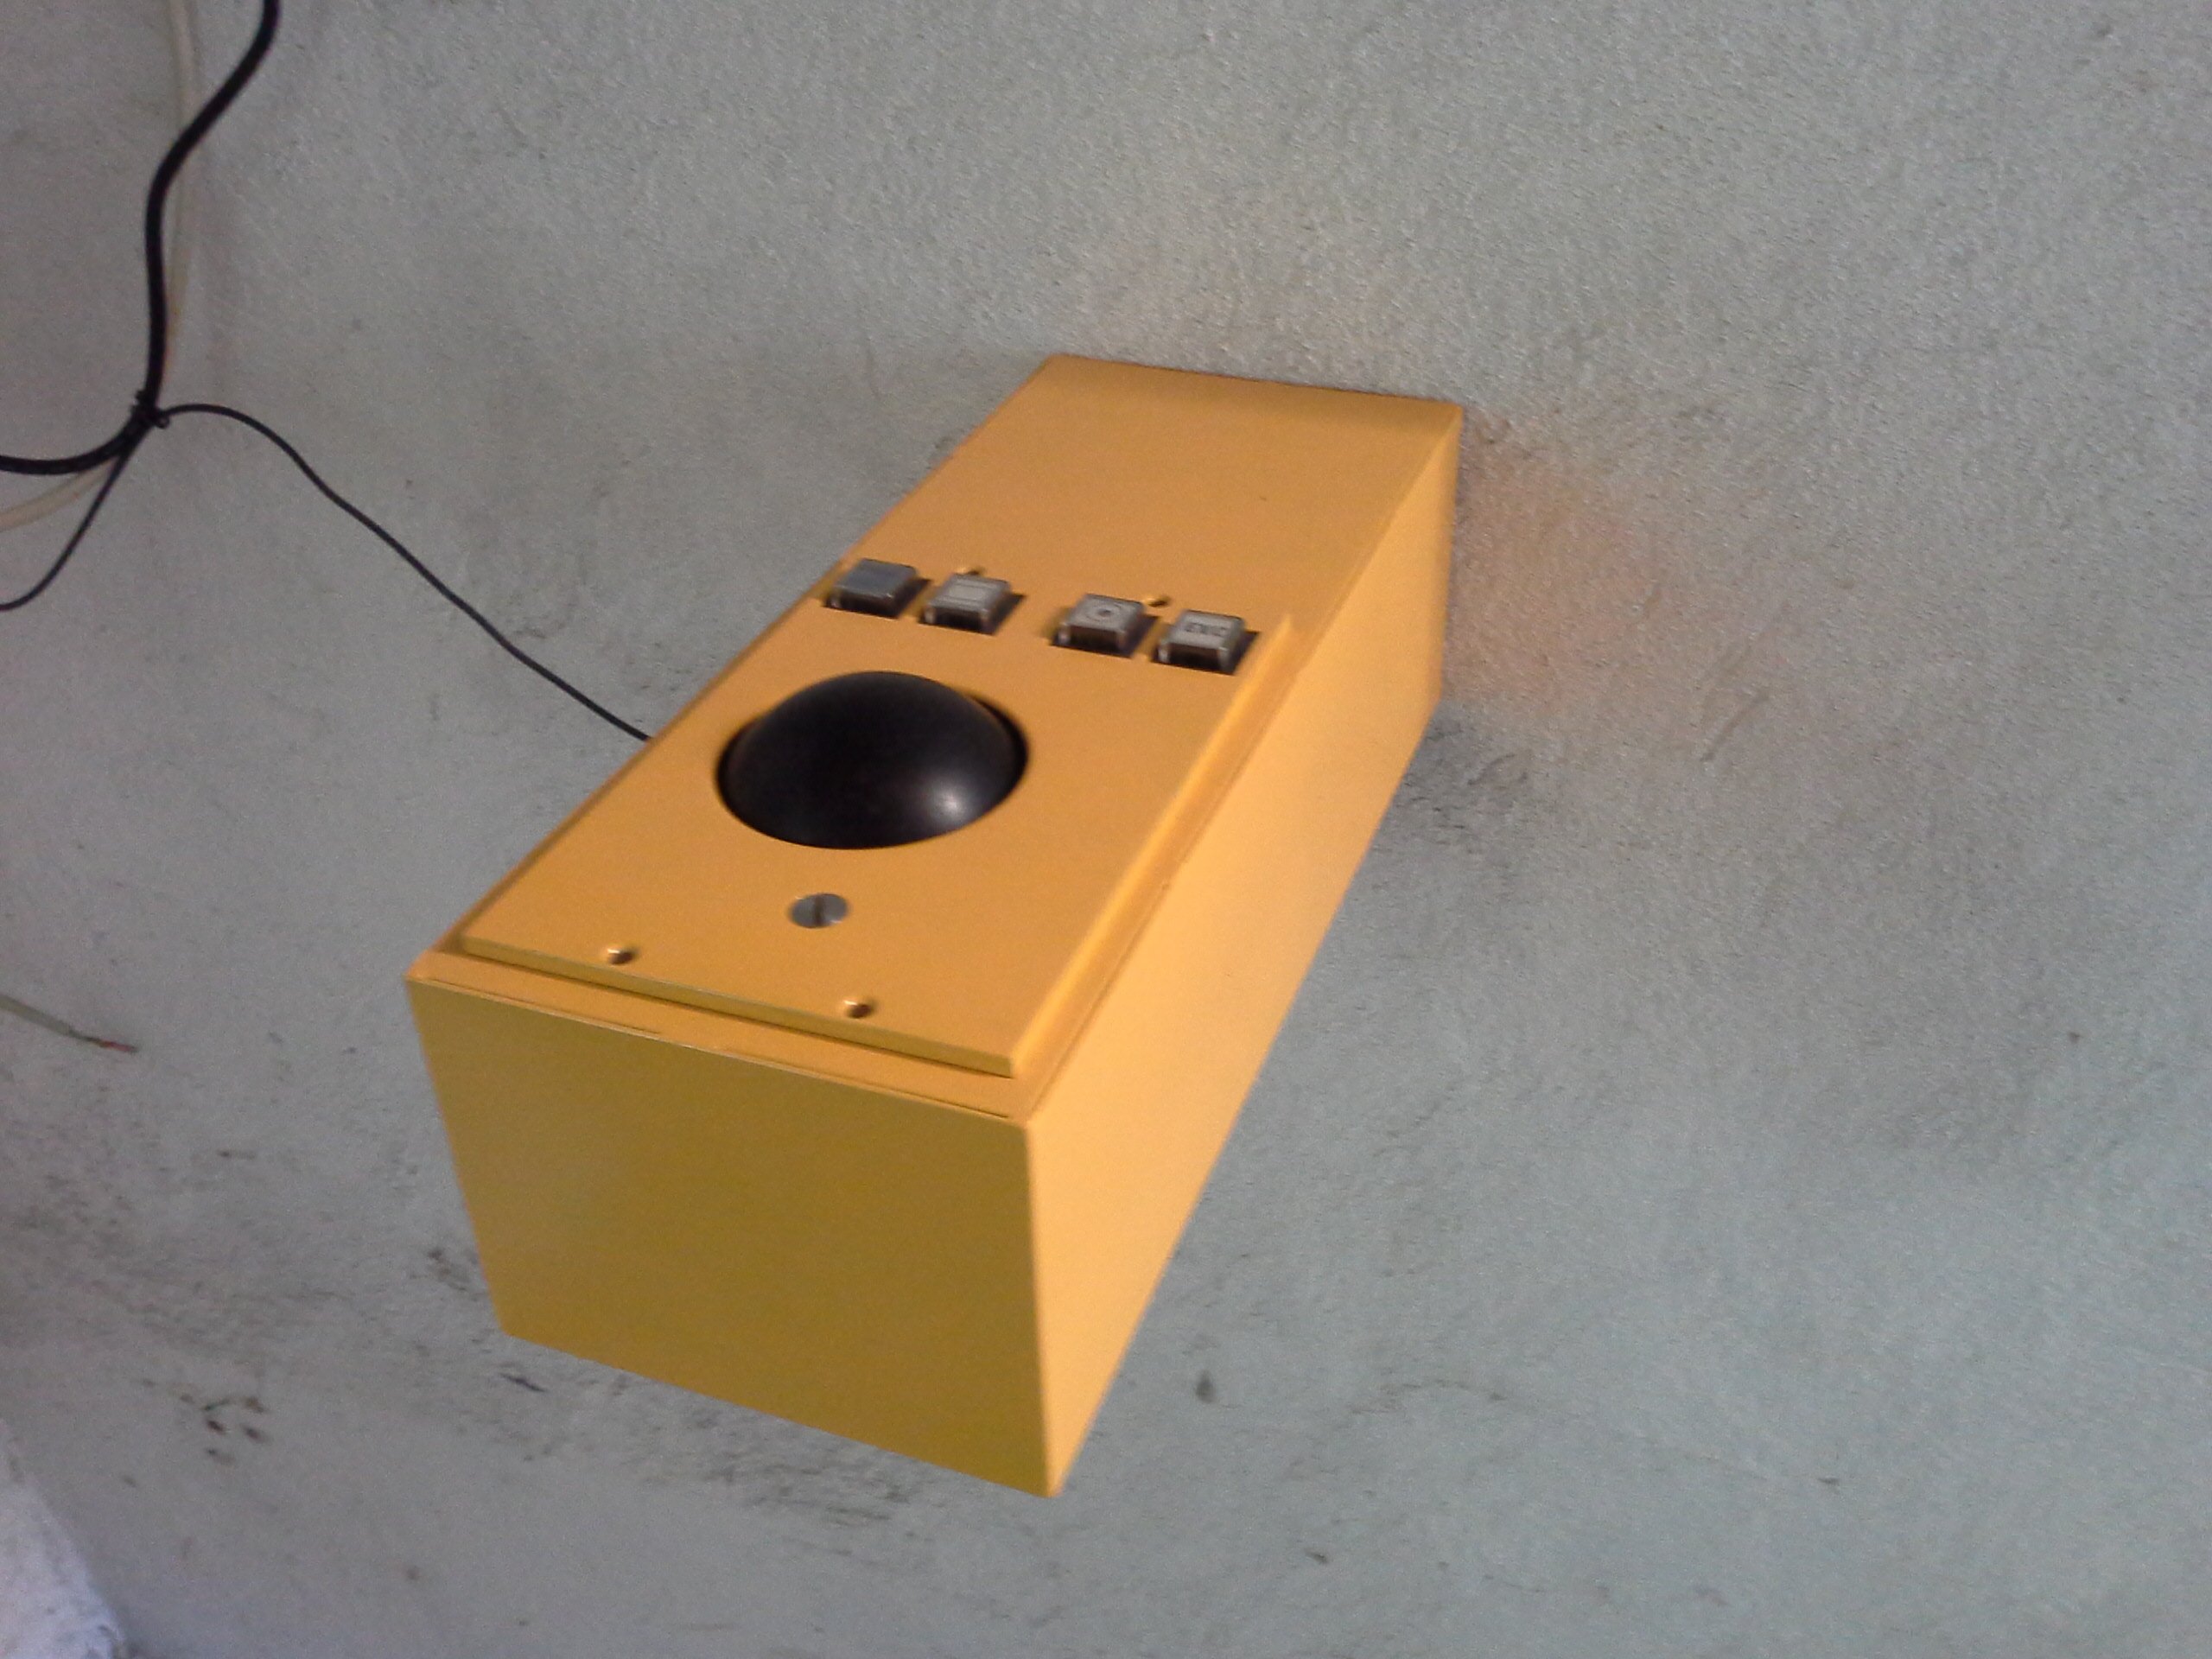
Because my trackball supposed to worked in power plant, I needed tough hardware. I found this “panzer” trackball (from some military equipment) on online auction for few $. What is important, this trackball doesn’t afraid of dust or dirt. On a hackaday there was already one project about how to hack it. But since I like simple solutions, instead of working with electronic, I just ‘trasnplanted’ parts from an old mouse to trackball. A litle bit of soldering and glue and there it was. All I did was to move infrared sensors from mouse, and place them in trackball. Trackball came to me without housing so I was forced to create one. The idea was to place trackball on the wall, next to monitor so that it would present one solution. I embeded trackball into metal housing (1 mm thickness). I also used some yellow painting to make my “trackball arm” look like more professional. The housing must be stiff, because it is mounted only to wall. I used 1 mm thickness metal plate.
 |
 |
 |
 |
 |
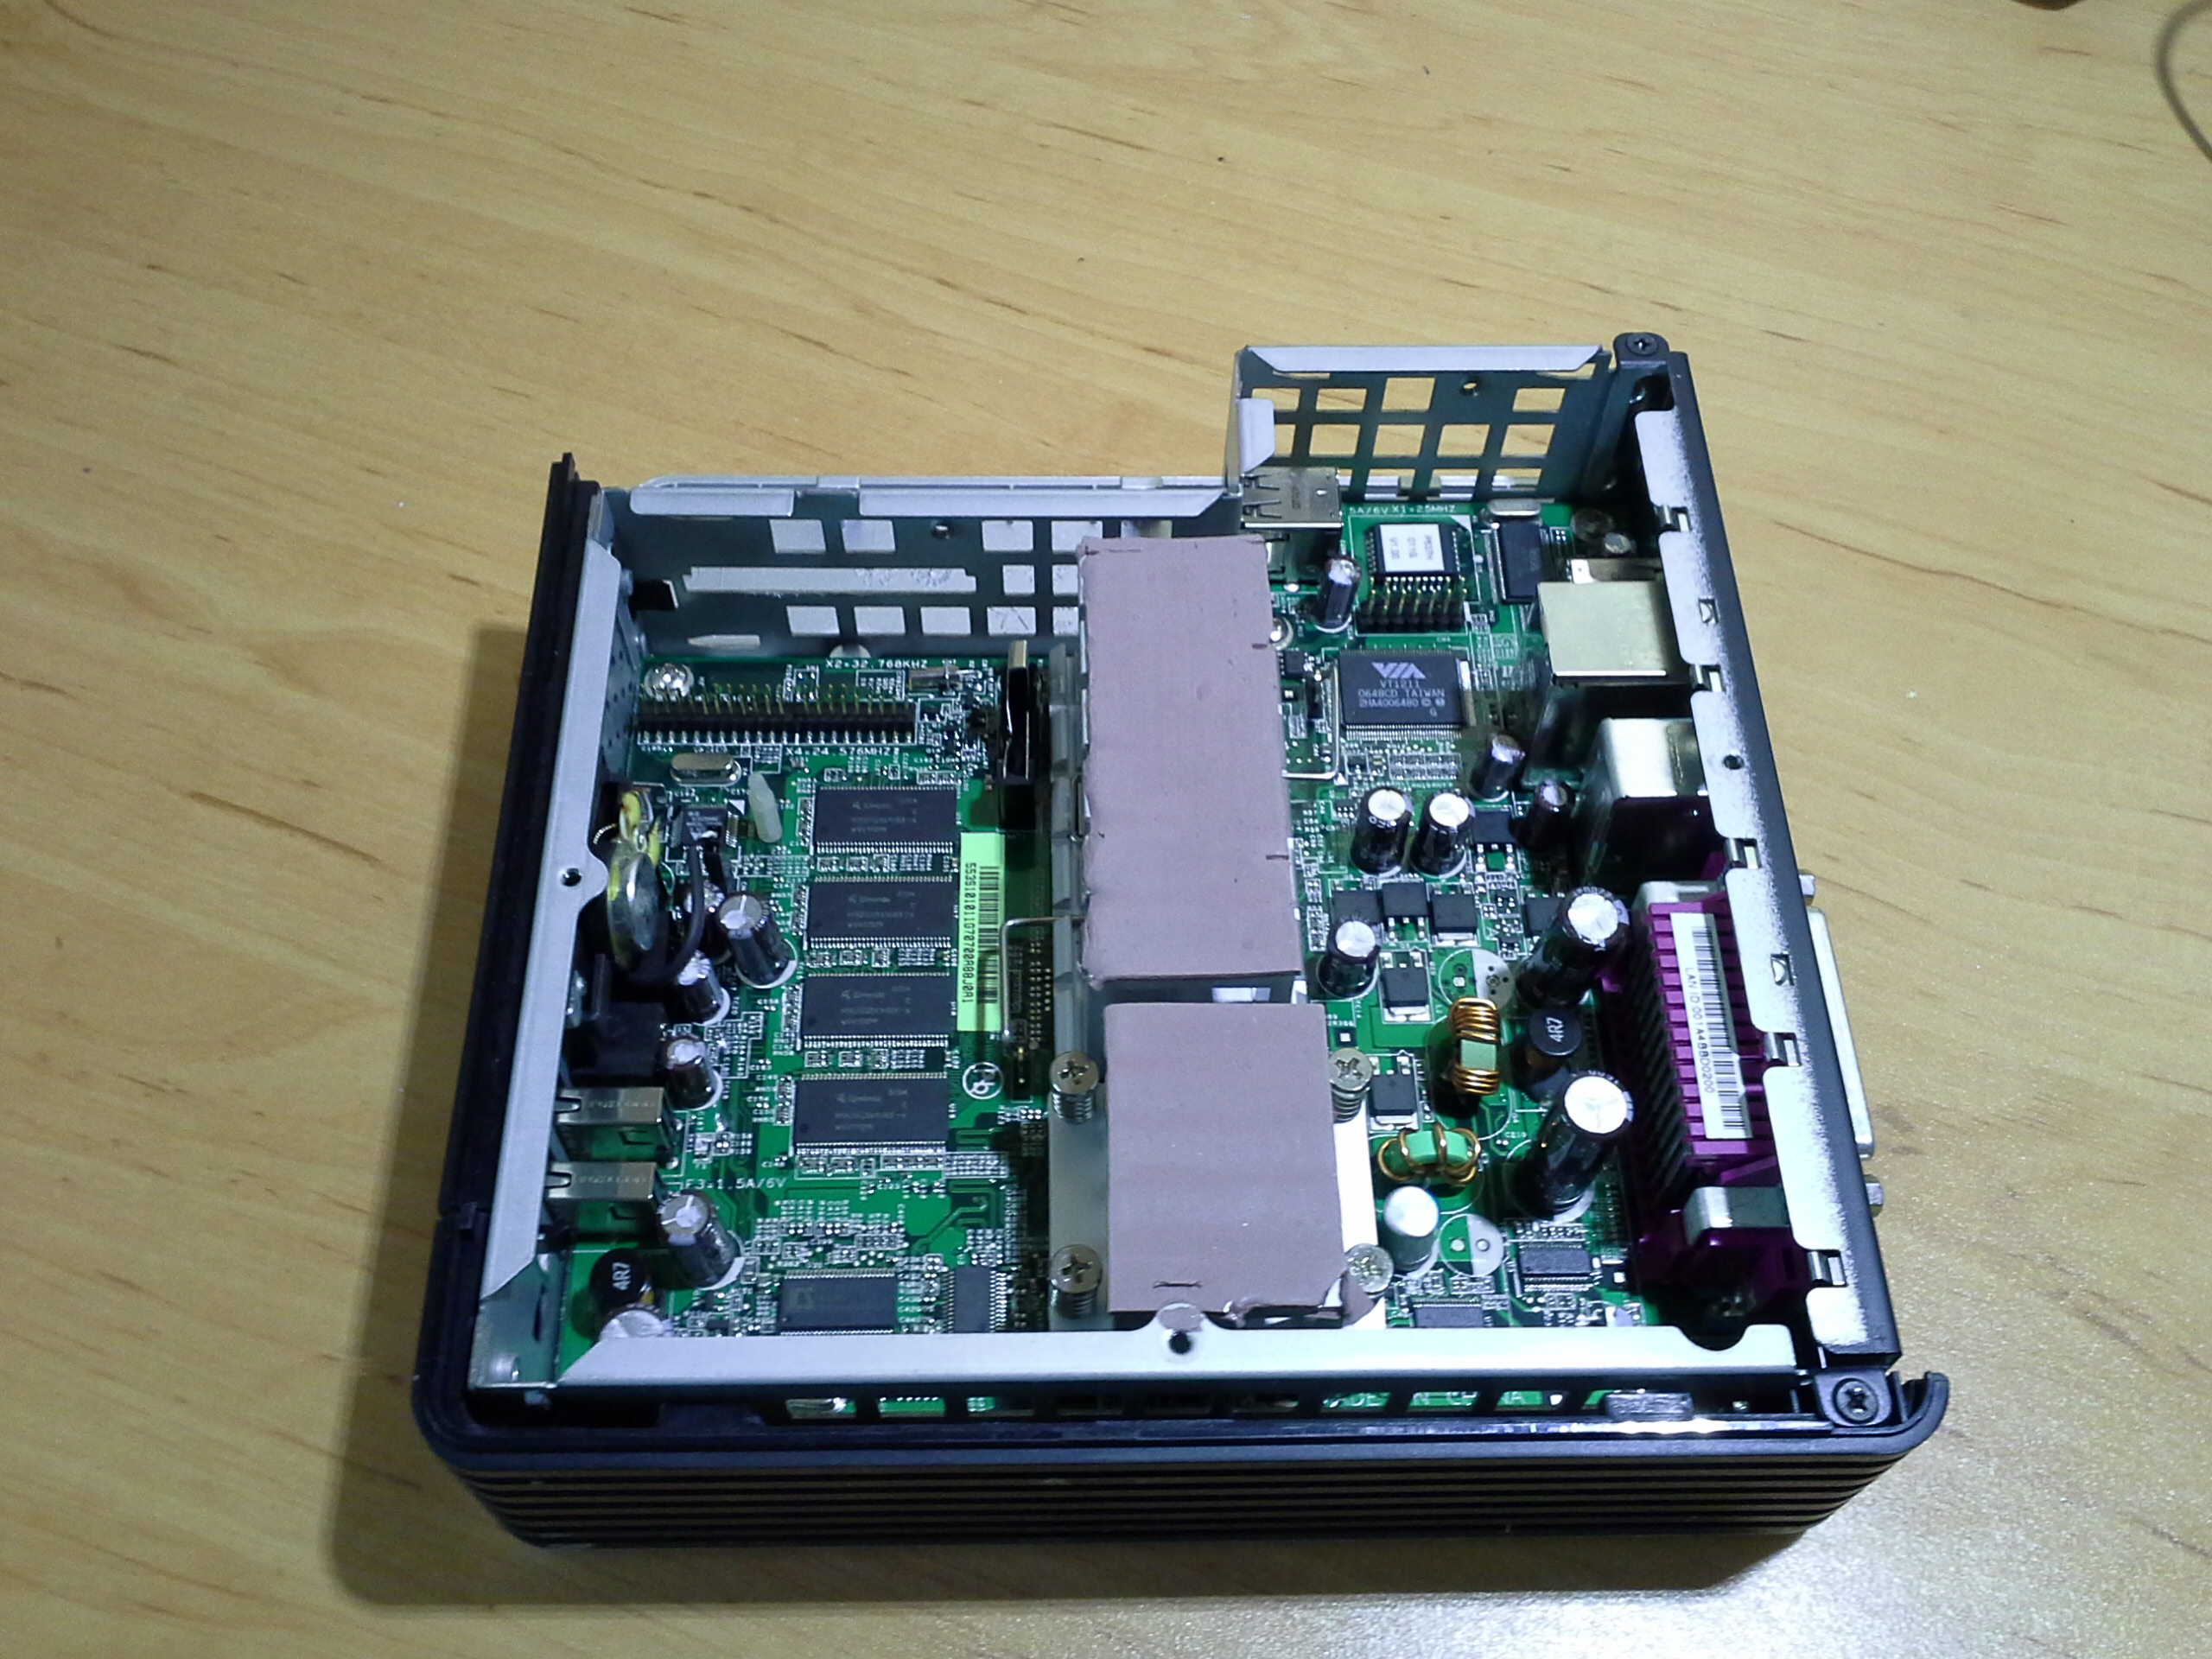
Hardware – metal box for CPU
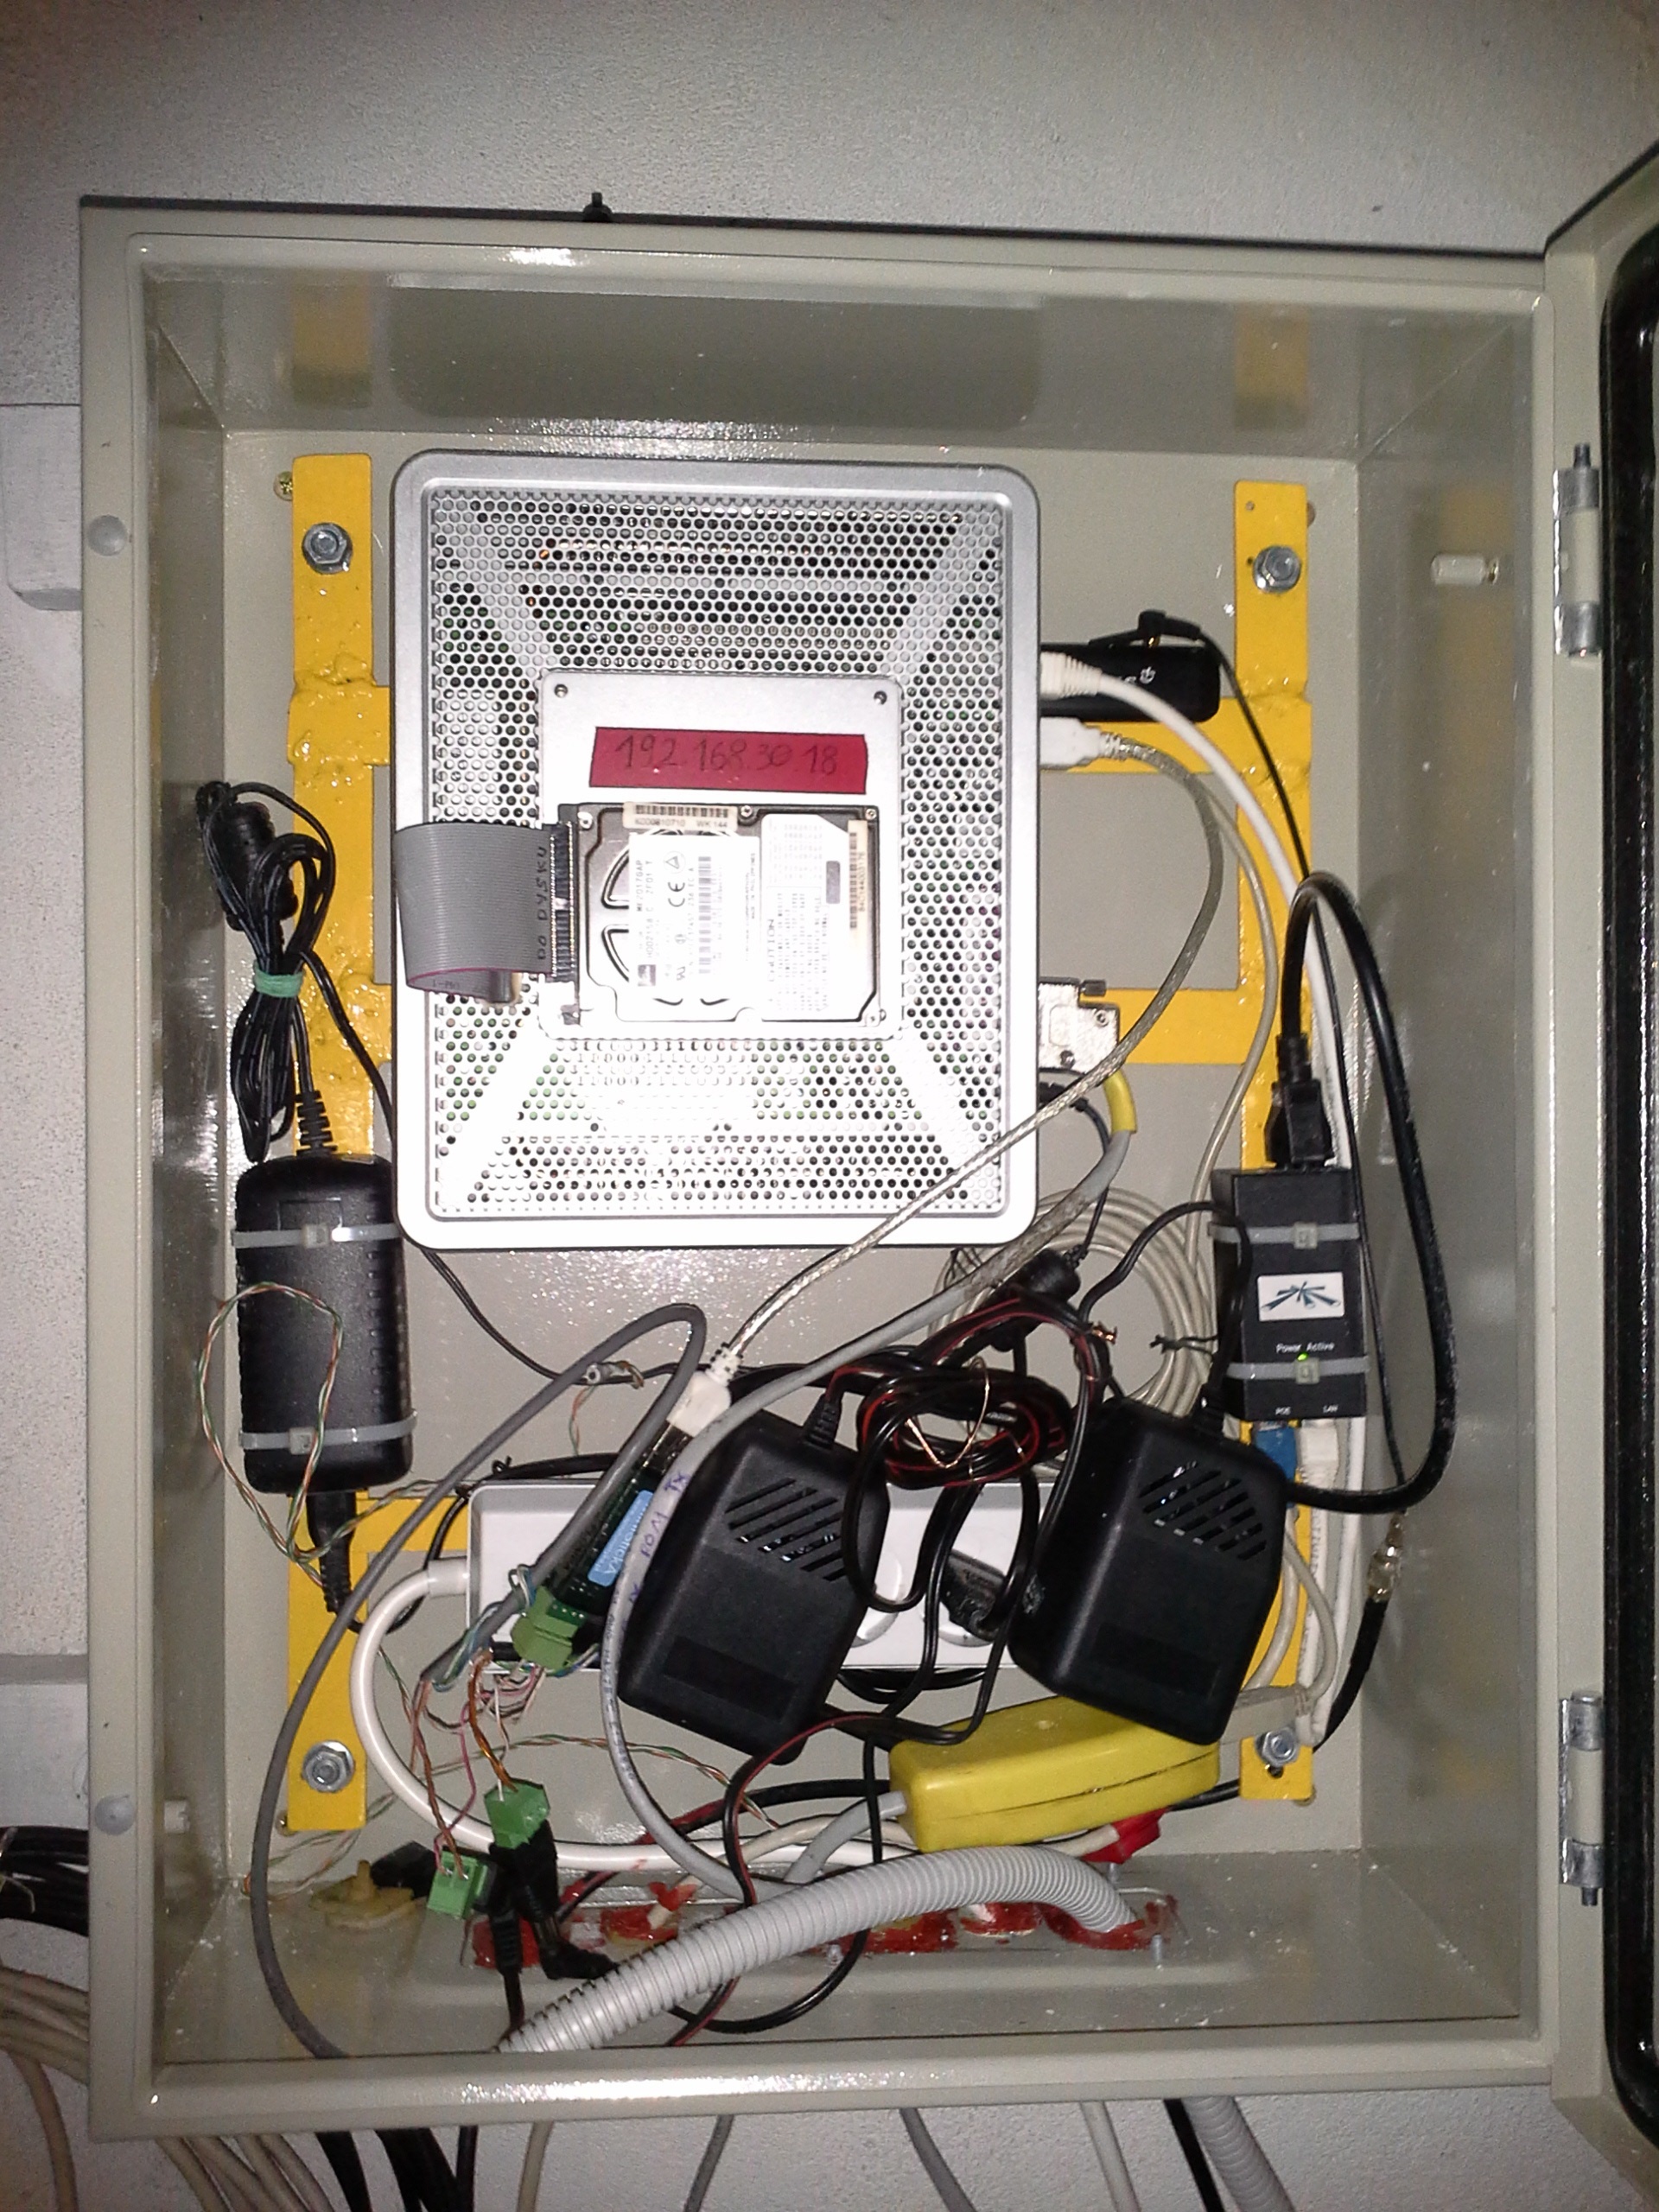
Because of environment (high humidity, dust, etc) I hide Thin Client inside metal box. I used a box for electronic equipment with rubber sealing. Image below is a view of what is inside a box – it is my later version with HP T5720 – bigger version of T5530.
 |
 |
Hardware – monitor
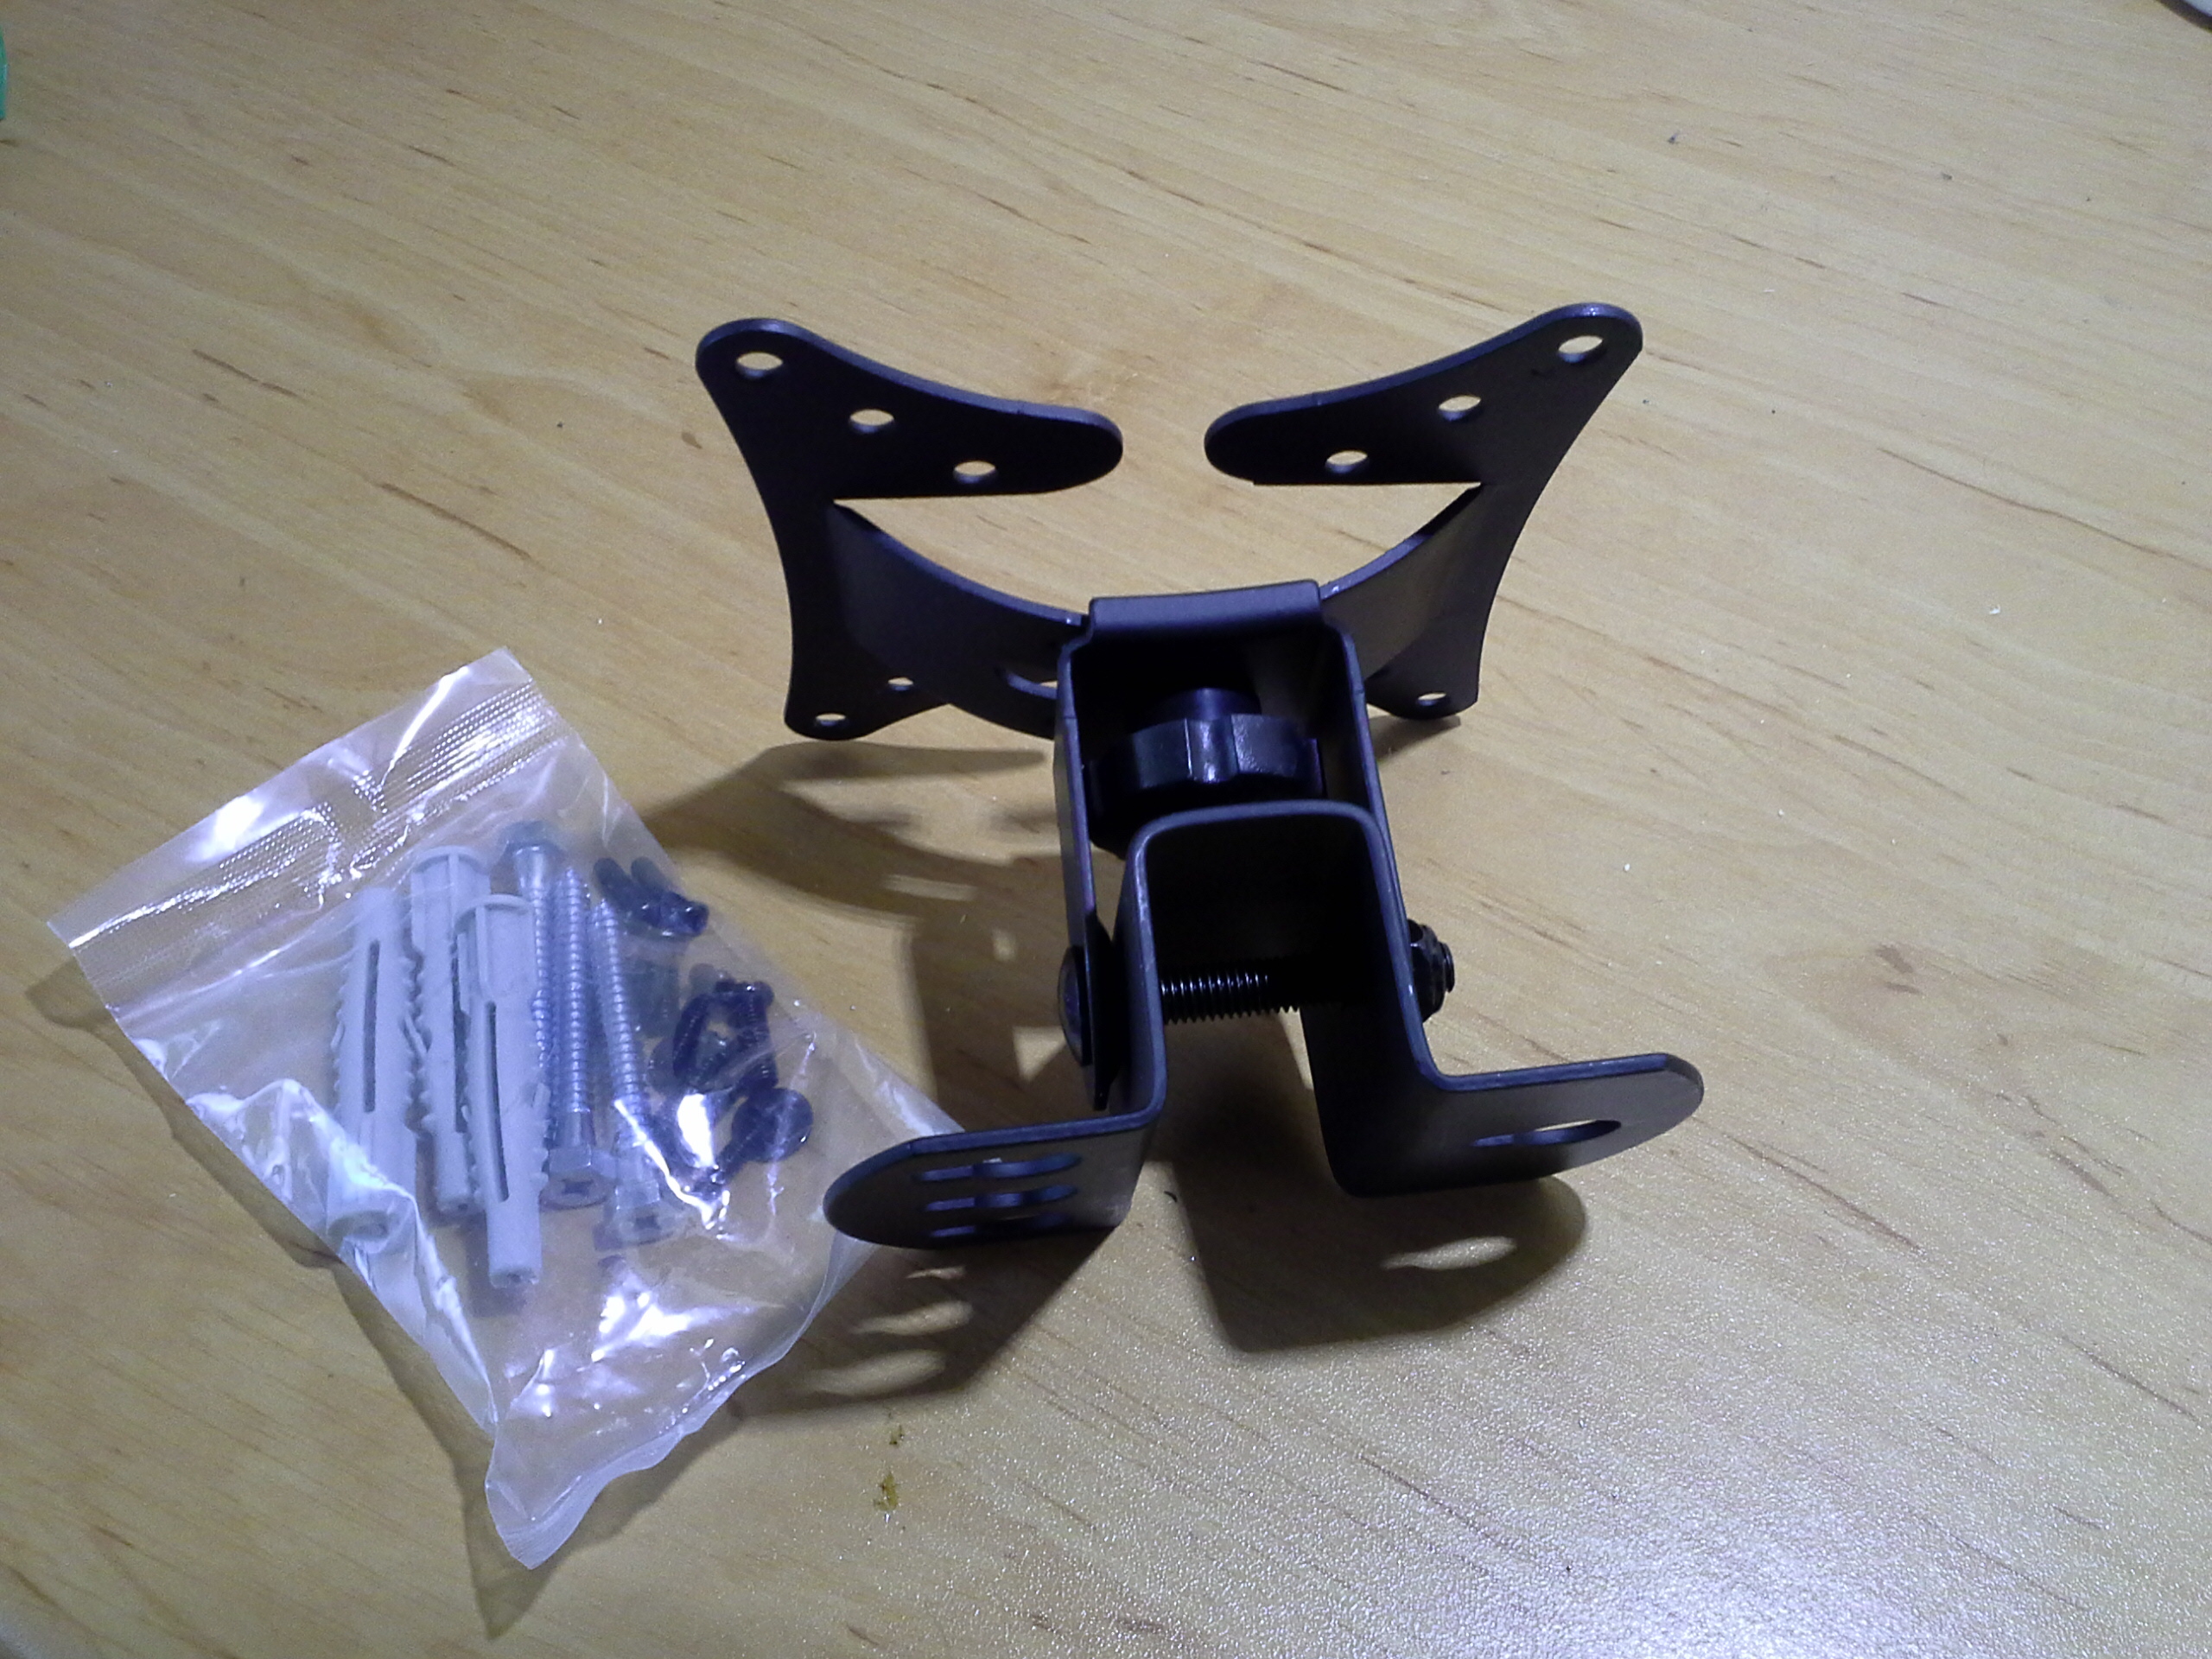
The best option would be to use some touchscreen monitor. But they are expensive. Since I got my trackball, I only need something to display my cool python GUI. I used some old HP 15″ LCD monitor with proper holder (cheapest that I found). Nothing fancy here.
 |
 |
Software
Which OS should I use for my kiosk? The answer was simple: Linux. There
are many distros that can be used in kiosk application, but it can be difficult to make
a right choice. Before I mounted “external” HDD, I tried to use some LiveCD
distros (like Fedora Live). Because this OS runs in RAM it does not require HDD at all
(only pen drive or CF card). Quickly it turned out that it is too unstable solution.
After a day of working, OS went crash. After switching to “external” HDD I
had bigger scope of possibilities. I’m big fan of CentOS, so I tried this option.
Unfortunately, you can’t install CentOS (6.x) on hardware that has less than 256
MB RAM (I got 128 MB in my HP T5530). I didn’t gave up. My next choose was hit in
10 – Debian. It is so small that it can run almost on anything! It has really
minimal HW requirements and it is stable. What is most important, it supports
openbox.
There are few key-features that every kiosk should have. Below I will try
to describe them and give some configuration hints.
After booting, Linux
Kiosk shouldn’t ask about a password (how the heck I suppose to type
login/password with my trackball ?!). It should also display some windows GUI. Both
things can be accomplished by installing openbox. Openbox is a windows manager. It is
not a desktop environment. In kiosk, all you need is a way to display windows (in full
screen mode ofcourse) and basicaly it is what openbox provides. To display windows we
need also a package called “Xorg” which is X window server. And that’s
it!

It’s time to make our hands dirty. To install those packages on Debian 6/7 all you
need is:
– Graphincal (X) environment:
aptitude install xorg
– Openbox package:
aptitude install openbox
– some python packages:
if you want internet based kiosk (your GUI interface
will be a web browser):
aptitude install python-webkit
if you want to create your own fancy GUI (like me) use gtk2:
aptitude install python-gtk2
Now, whenever you’ll want to launch X server type:
startx
(for now, the screen will go blank and nothing happen, so stay tuned)
Whenever
you’ll want to stop X server type:
pkill X
Create some test script (it will open web browser in full screen mode with scroller and google.pl as a frontpage):
vi kiosk.py
#!/usr/bin/env python
import gtk, webkit
window = gtk.Window()
# this is to close window:
window.connect('destroy', lambda w: gtk.main_quit())
window.fullscreen()
scroller = gtk.ScrolledWindow()
web = webkit.WebView()
web.open("http://www.google.pl")
window.add(scroller)
scroller.add(web)
window.show_all()
gtk.main()
Now, we will create another script that will work in infinite loop. If something bad happen (my kiosk.py app close unexpectedly), this simple few lines of bash script will execute the main script again.
vi loop.sh
#!/bin/sh
while True
do
    kiosk.py
done
Configuration
All you need to do right now is to add some configuration to openbox:
cd /etc/xdg/openbox
cp autostart.sh autostart.sh_ORIG
(make a copy just in case (I always do it)
on the end of file add following line:
/path_to_/loop.sh &
Edit /etc/rc.local so that it will launch windows manager (and our script) after each boot:
startx exit 0
And voila! Now you can restart your linux box. After reboot you should not be prompted about login/password. Intead of it, your kiosk.py should be launched.
One thing to consider: security
This is the place you probably want to consider security of your kiosk. Openbox gives you
bunch of hardening features such as: block ctr+alt+del or alt+F4 (so that
user
won’t be able to access to OS and do some nasty things).
Check this wiki for more information.
Some additional tip
My trackball worked in “reverse” mode. When I moved the ball right, the cursor on the screen went to left. That’s because I placed the sensors in wrong position. But since it was easier to place them like that, I left them. To fix the reverse issue, I just add two additional configuration lines to xorg:
vi /usr/share/X11/xorg.conf.d/10-evdev.conf
change:
Section "InputClass"
Identifier "evdev pointer catchall"
MatchIsPointer "on"
MatchDevicePath "/dev/input/event*"
Driver "evdev"
EndSection
to:
Section "InputClass"
Identifier "evdev pointer catchall"
MatchIsPointer "on"
MatchDevicePath "/dev/input/event*"
Driver "evdev"
Option "InvertY" "true"
Option "InvertX" "true"
EndSection
Option “InvertX/Y” just reverse direction of pointer. That’s it!
Stay tuned! I’m going to add short video with my working kiosk soon.